How to Test a Starter Solenoid Quickly
A faulty starter solenoid is a common reason your car refuses to start. Learning how to test a solenoid can save y

A faulty starter solenoid is a common reason your car refuses to start. Learning how to test a solenoid can save you time and money. This guide provides easy, step-by-step instructions for a confident diagnosis. You will learn how to test a solenoid valve using two primary methods: a simple "click test" and a more definitive multimeter test.
Common Symptoms:
- A single, sharp 'click' from the engine bay.
- Dashboard lights illuminate, but the engine won't crank.
- The car starts sometimes but fails at other times.
These quick checks will help you test a solenoid valve and determine if it's the culprit behind your starting troubles.
Key Takeaways
- A faulty starter solenoid can stop your car from starting. You can test it with a 'click test' or a multimeter.
- Always put safety first. Disconnect the car battery before you work on electrical parts. Wear safety glasses and gloves.
- Listen for sounds when you try to start the car. A single click, rapid clicks, or no sound all mean different problems.
- Use a multimeter to check the solenoid's electrical parts. This helps you find out if the coil or switch is broken.
- If your tests show a bad solenoid, you will likely need to replace the whole starter unit. This is because the solenoid is often part of the starter.
Essential Tools and Safety
Proper preparation is key before you test a solenoid valve. Having the right tools and following safety protocols will protect both you and your vehicle from harm. This section covers everything you need to get started safely.
Gathering Your Tools
You do not need a massive toolbox for this job. A few specific items will get the work done efficiently. Collect these tools before you head under the hood:
- Multimeter: This is essential for checking resistance and continuity.
- Wire Brush: Use this to clean any corrosion off the solenoid terminals for an accurate reading.
- Wrench Set: You will need this to disconnect the battery and potentially remove cables from the solenoid.
- Screwdriver: A screwdriver may be necessary to remove plastic engine covers that block access to the starter.
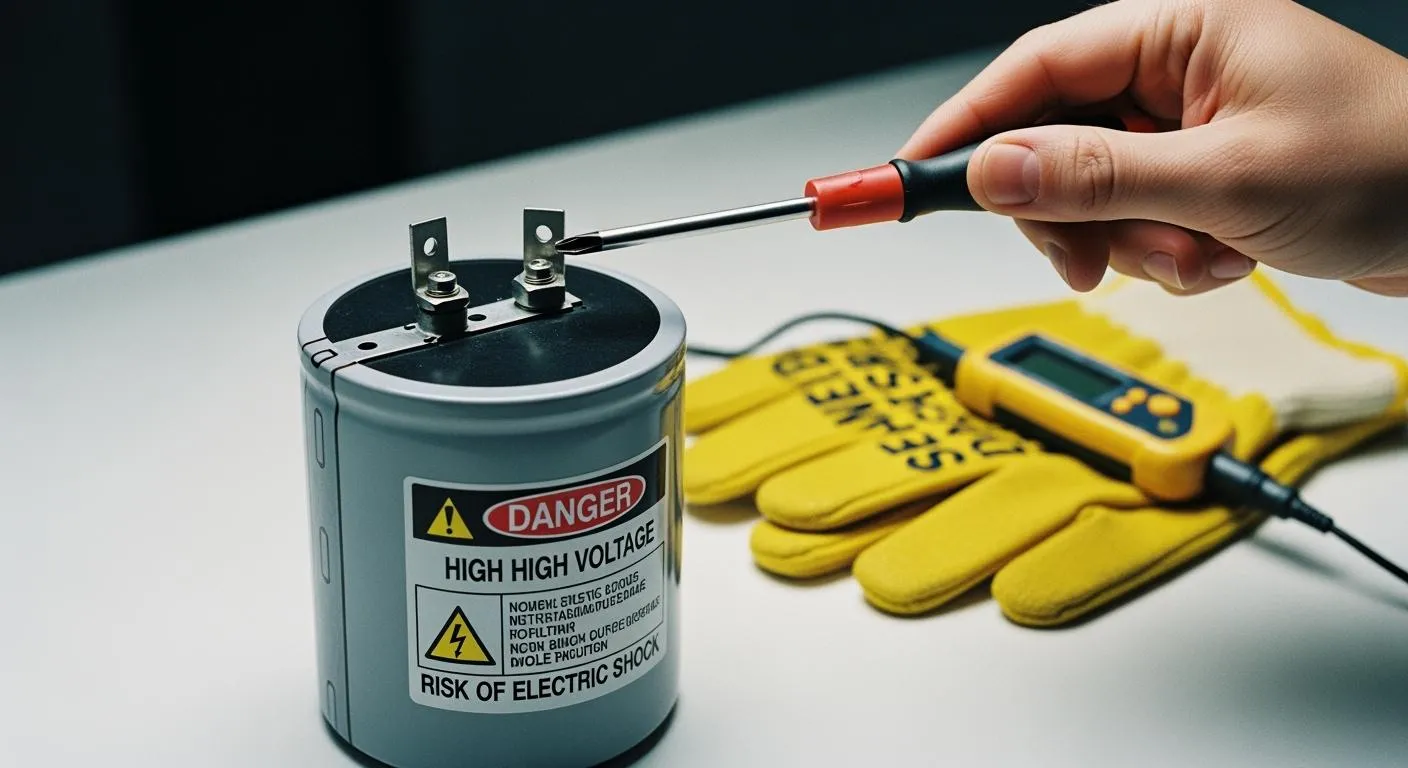
Safety First: Before You Begin
Working with a car's electrical system requires your full attention. Always prioritize your safety by taking the right precautions. Wear the proper personal protective equipment (PPE) to prevent injury.
- Safety Glasses: Protect your eyes from debris and potential sparks. Your glasses should meet ANSI Z87+ standards for impact protection.
- Insulated Gloves: These gloves protect you from electrical shock. Always inspect them for holes or tears before each use.
The most critical safety step is to disconnect the battery. This prevents dangerous electrical shorts. Follow these steps carefully:
- Turn the vehicle completely off and remove the key.
- Locate the battery and identify the negative (-) and positive (+) terminals.
- Always disconnect the negative (-) terminal first. Use a wrench to loosen the nut on the black terminal, then pull the cable off.
- Tuck the negative cable securely away from the battery.
- Proceed to disconnect the positive (+) terminal.
Warning ⚠️ Never start with the positive terminal. If your metal wrench touches the battery's positive terminal and any grounded metal part of the car simultaneously, it can create a powerful and dangerous electrical short.
The 60-Second 'Click Test'
The 'click test' is the fastest way to get an initial diagnosis. You do not need any tools for this check, but you will need a friend to help you. This simple audio test helps you understand what the solenoid is doing (or not doing) when you try to start the car. This is a fundamental step in learning how to test a solenoid valve.
Performing the Click Test
You will listen for specific sounds coming from the engine bay. Your friend will turn the key while you listen carefully near the starter motor.
- Open the hood and locate the starter motor and solenoid.
- Ensure you are a safe distance from any moving engine parts like belts or fans. Always wear your safety glasses.
- Have your friend turn the ignition key to the "START" position.
- Listen closely for any sounds coming from the solenoid.
- Ask your friend to try it a few times so you can be sure of what you hear.
Safety Tip: 🛡️ Never place your hands or tools near the engine's moving parts while someone attempts to start the vehicle. Even if the car has not been starting, it could suddenly crank.
Interpreting the Clicks (or Silence)
The sound you hear—or the lack of one—tells a story. Each noise points to a different potential problem. Correctly interpreting these sounds is a key part of how to test a solenoid.
| Sound | Likely Meaning | What to Do Next |
|---|---|---|
| One Loud Click | The solenoid is receiving power and trying to work, but the starter motor is not engaging. | This often points to a bad starter or a faulty internal switch in the solenoid. Proceed to the multimeter test. |
| Rapid Clicking | The solenoid is not getting enough power from the battery to fully engage the starter. | This is a classic sign of a low battery or a poor electrical connection. Check your battery charge and clean the terminals. |
| Complete Silence | The solenoid is likely dead. It is not receiving power or is unable to function at all. | This could be a bad ignition switch, a broken wire, or a completely failed solenoid. This makes it important to test a solenoid valve with a multimeter. |
A Single, Loud Click A single, sharp click is a very common symptom. This sound means the solenoid received the signal from your ignition. It extended the plunger to engage the starter gear, but something failed after that. The issue is often a worn-out starter motor or a failure within the solenoid itself. The click confirms the solenoid is trying, but it cannot complete the job.
Rapid, Machine-Gun-Like Clicking A fast, repetitive clicking noise almost always points to an electrical power issue. This sound happens for a specific reason:
- The solenoid gets just enough power from the battery to activate and "click."
- This action draws a large amount of current to spin the starter motor.
- The battery voltage drops because it is too weak to supply that current.
- The solenoid disengages due to the voltage drop, then immediately tries again as the voltage recovers slightly.
This cycle repeats very quickly, creating the "machine-gun" sound. The root cause is usually a weak battery, a failing alternator that has not charged the battery, or corroded battery cables creating high resistance.
Complete Silence Hearing nothing at all when you turn the key is also a major clue. If your dashboard lights come on but the engine bay is silent, the electrical signal is not reaching or activating the solenoid. This can mean the solenoid itself is completely worn out and has failed internally. You must test a solenoid valve with a multimeter to confirm if it is receiving power and if its internal circuits are functional.
How to Test a Solenoid With a Multimeter
If the click test was inconclusive, a multimeter will give you a definitive answer. This tool allows you to look inside the solenoid electronically. You will perform two key checks: a resistance test on the coil and a continuity test on the main switch. These tests are the most reliable way to determine the solenoid's internal health. This section provides a complete guide on how to test a solenoid valve with this essential tool.
Setting Up Your Multimeter
Proper setup protects you and your equipment. Before you begin any test, you must prioritize safety. Always disconnect the car's battery and wear your safety glasses and insulated gloves. Working with electrical components requires your full attention.
Safety Checklist 📝
- Ensure the vehicle's engine is completely off.
- Disconnect the battery's negative terminal first.
- Wear safety goggles and gloves to protect against electrical hazards.
- Never let the multimeter probes touch each other while connected to a live circuit.
With safety covered, you can now configure your multimeter. The setup depends on the test you are performing.
- Turn on your digital multimeter.
- For resistance (Ω) or continuity tests, turn the selector dial to the Ohms (Ω) setting. Your meter may have a dedicated symbol for continuity that looks like a sound wave.
- For voltage tests, you would turn the dial to the DC Voltage setting (V⎓). You should pick a range higher than the car's battery, so the 20V setting is usually perfect for testing for voltage.
Always consult the specific instructions that came with your multimeter, as each model can differ slightly.
How to Test a Solenoid Valve for Resistance
This test checks the health of the small electromagnetic coil inside the solenoid. This process is known as testing the activation circuit. A proper resistance reading shows the coil's wiring is intact. A bad reading means the coil is broken and cannot create the magnetic field needed to operate the switch. This is a critical step to check the solenoid coil.
- Confirm the battery is disconnected. You must perform resistance tests with no power in the system.
- Set your multimeter dial to the lowest Ohms (Ω) setting.
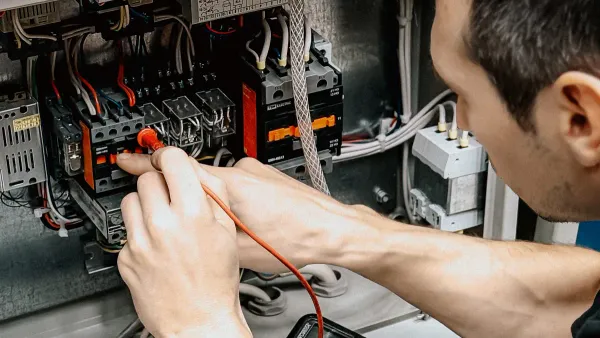
- Locate the two small terminals on the solenoid. One is the 'S' (Start) terminal that receives power from the ignition switch, and the other is the ground terminal.
- Touch one multimeter probe to the 'S' terminal and the other probe to the ground terminal. The polarity of the probes does not matter for this test.
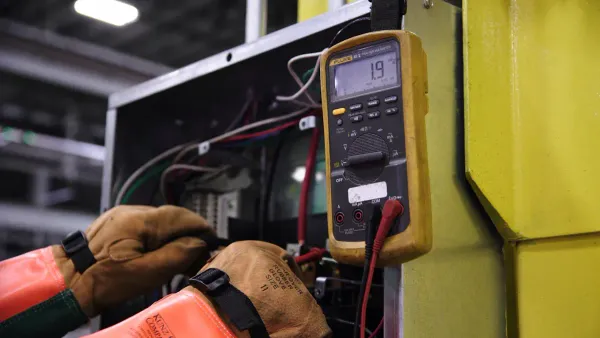
- Observe the reading on the multimeter's screen.
A healthy solenoid valve coil will show a specific resistance. A good reading is generally between 20 and 60 ohms, though this can vary by brand. The most important thing is that you get a stable reading within a reasonable range.
| Multimeter Reading | Meaning | What It Means for You |
|---|---|---|
| 20 - 60 Ω | The coil has proper resistance. | The internal coil is likely good. The problem may be elsewhere. |
| OL (Over Limit) | The coil has infinite resistance. | The wire inside the coil is broken. The solenoid is bad and needs replacement. |
| Near 0 Ω | The coil has a short circuit. | The internal wiring is damaged and touching itself. The solenoid is bad. |
An 'OL' reading indicates an open circuit. This means the solenoid is "burnt out" and can no longer function.
Checking the Main Terminals for Continuity
This final test determines if the solenoid's internal switch works. When the coil is energized, it should create a connection between the two large metal posts. This connection allows high-current power to flow from the battery to the starter motor. This procedure is essential for testing for continuity.
Note: This test requires activating the solenoid. The safest way is to remove the solenoid and test it on a workbench using a 12V power source.
Here is how to test a solenoid for continuity:
- Set your multimeter to the continuity setting. It often shares a spot with the Ohms setting and uses a sound wave symbol (🔊). When you touch the probes together, the meter should beep.
- Connect the multimeter probes to the two large terminals on the solenoid. With no power, the meter should show 'OL' (no continuity).
- Carefully apply 12V power to the small activation terminals (the 'S' and ground terminals). You should hear a solid "click."
- While the solenoid is energized and clicking, look at the multimeter.
A good solenoid will show a reading very close to 0 ohms and the multimeter will beep. This indicates a solid connection. If the solenoid clicks but the multimeter still reads 'OL' (or a very high resistance), the internal switch has failed. Even though the coil is working, the solenoid cannot deliver power to the starter. This confirms a faulty part, completing your guide on how to test a solenoid.
Testing a Golf Cart Solenoid
Testing a golf cart solenoid is similar to testing one in a car, but these components have some unique checks. A faulty golf cart solenoid can cause specific issues. In a gas cart, the starter might fail to engage or even keep running after you turn the key off. For an electric cart, the most common symptom is a complete failure to start, often without the usual "click" sound. Learning how to test a solenoid in this context will help you pinpoint the problem quickly.
Locating the Solenoid
First, you need to find the golf cart solenoid. It is usually a small cylindrical component with two large posts and two small terminals. You can typically find it in one of two places:
- Under the Driver’s Seat: Lift the seat to access the battery compartment. The solenoid is often mounted to the frame rail near the batteries.
- Near the Motor Controller: In some models, it is located close to the main motor controller, identifiable by the thick battery cables connected to its large posts.
Performing a Power Test
A power test is a definitive way to check if your golf cart solenoid is working. This process will show you if the solenoid can properly close the circuit and send power to the starter or motor. Before you begin, make sure the cart is off, the key is removed, and the parking brake is engaged.
- Perform a Jumper Test: This is a quick method for how to test a solenoid valve. Run a jumper wire from the positive side of your main battery pack directly to the small 'S' (start/activation) terminal on the solenoid. If the engine cranks or the cart tries to move, your solenoid is likely good, and the problem is in the activation circuit (like the key switch or accelerator microswitch).
- Listen for the Click: Have a friend turn the key and press the accelerator. You should hear a single, solid click from the solenoid. No click often points to a bad solenoid or a problem in the low-amperage circuit.
- Check the Coil Resistance: Disconnect the battery pack. Set your multimeter to Ohms (Ω) and test the resistance between the two small terminals. This checks the health of the solenoid valve coil.
Resistance Check 💡 A good coil reading is essential. If your multimeter shows 'OL' (Over Limit) or a reading near 0 Ω, the internal coil is damaged. This confirms you need to replace the golf cart solenoid.
If these checks fail, you have successfully diagnosed a bad part. This guide on how to test a solenoid valve should give you the confidence to identify the issue.
You now know how to test a solenoid valve and identify its key failure points. Remember these definitive signs of a bad solenoid:
- Complete silence or just one click when you turn the key.
- An 'OL' (Over Limit) reading when checking coil resistance.
- No continuity between the main posts, even when the solenoid clicks.
If your tests revealed any of these issues, you have successfully found the culprit. Most modern vehicles integrate the solenoid with the starter, so your next step is clear. Now that you've confirmed a faulty solenoid, the next step is replacement.
FAQ
Can I bypass a solenoid to start my car?
You can technically bypass a solenoid, but it is extremely dangerous. This action creates a direct, high-current connection that can cause severe electrical shocks, damage your car's computer, or start a fire. We strongly advise against it for your safety.
Is a single click always a bad solenoid?
A single click often points to a faulty solenoid or starter. The click means the solenoid received power but failed to engage the starter motor fully. You should perform a multimeter test to confirm if the solenoid's internal switch has failed.
What is the difference between a starter and a solenoid?
The solenoid is a powerful switch. It takes a small electrical signal from your key and uses it to close a large circuit. This action sends massive battery power to the starter motor, which then cranks the engine.
Key Takeaway 💡 On most modern cars, the solenoid is attached directly to the starter motor. You usually replace them as a single unit.
How much does a new starter solenoid cost?
The cost varies widely. A standalone solenoid might cost you $20 to $100. Since most are part of the starter assembly, you will likely buy the entire unit. A complete starter can range from $100 to over $400, depending on your vehicle.