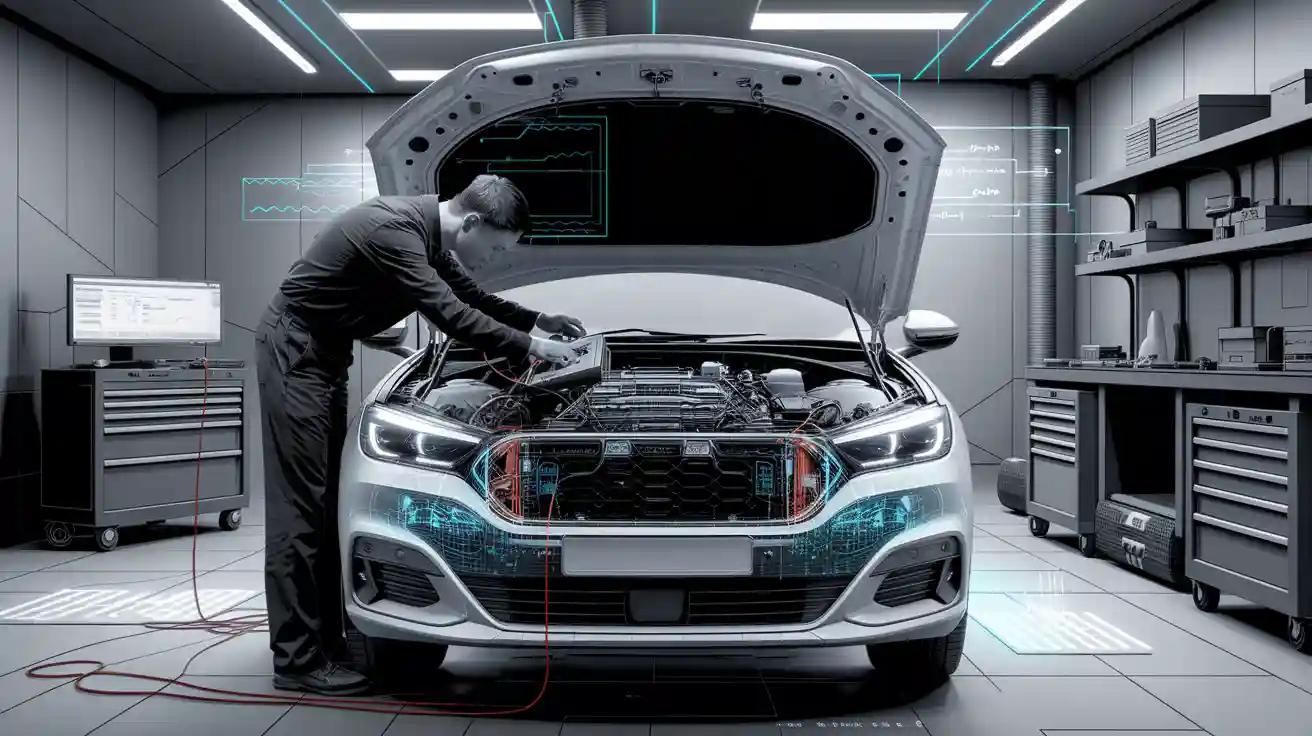
Step-by-Step Guide to Fixing Automotive Electronics
Automotive electronics repair is important for keeping cars working well. From the battery to the wires, every part helps your car run. Learning to fix car electronics saves money and builds confidence. It helps you rely less on expensive mechanics and more on yourself. Whether fixing a fuse or checking a sensor, knowing car electronics lets you handle repairs easily.
Automotive electronics repair is important for keeping cars working well. From the battery to the wires, every part helps your car run. Learning to fix car electronics saves money and builds confidence. It helps you rely less on expensive mechanics and more on yourself. Whether fixing a fuse or checking a sensor, knowing car electronics lets you handle repairs easily.
Key Takeaways
-
Learn basic tools for fixing car electronics. Important tools are screwdrivers, pliers, a multimeter, and wire cutters. Using proper tools makes fixing easier and safer.
-
Always stay safe when working on car electronics. Disconnect the battery, wear gloves and safety glasses, and never work near a running engine to avoid accidents.
-
Check and take care of your car's battery and alternator often. Test the battery's voltage and alternator's power to stop starting problems and keep your car running well.
-
Look at fuses and wires for damage. Replace blown fuses with the right type and check wires for wear. Keep extra fuses nearby to save time in emergencies.
-
Get help from a pro for tough problems. If you face tricky wiring issues or broken control modules, ask an expert to stop more damage.
Tools and Safety Precautions for Automotive Electronics Repair
Essential Tools for Car Electronics Repair
Using the right tools makes fixing car electronics simple and safe. Start with basic tools like screwdrivers, pliers, and wrenches. A multimeter is key for checking voltage, current, and resistance in wires. Wire cutters and crimpers help fix broken wires quickly. Keep extra fuses nearby for easy replacements.
For harder repairs, get an OBD-II scanner. This tool reads error codes from your car’s system, making problems easier to find. Use heat shrink tubing and electrical tape to cover wires and stop failures. Always pick strong, good-quality tools for better results and longer use.
Safety Tips for Diagnosing and Repairing Car Electrical Problems
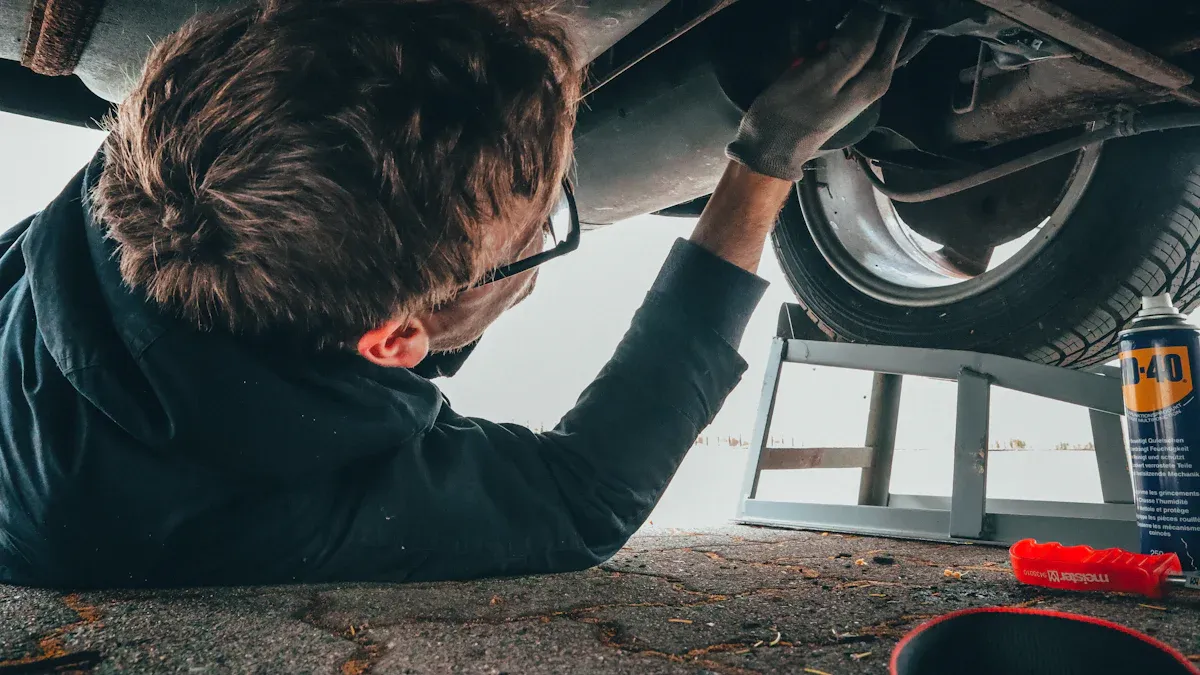
Safety is the most important step when fixing car electronics. Before starting, take the car key out to avoid shocks. Never touch or use tools near a running engine to stay safe. If working under the car, use jack stands to hold it up securely.
Wear the right clothes to stay safe. Loose clothes can get stuck in moving parts. Gloves and safety glasses protect your hands and eyes. Working with electricity can be risky, with dangers like shocks or burns. Following these tips helps you stay safe while repairing your car.
Tip: Check your tools and workspace before starting. Small mistakes can cause big issues.
Diagnosing Car Electrical Problems
Finding electrical problems in cars is very important. It helps save time and money while keeping your car working well. This section explains how to check the battery, test the alternator, and look at fuses for issues.
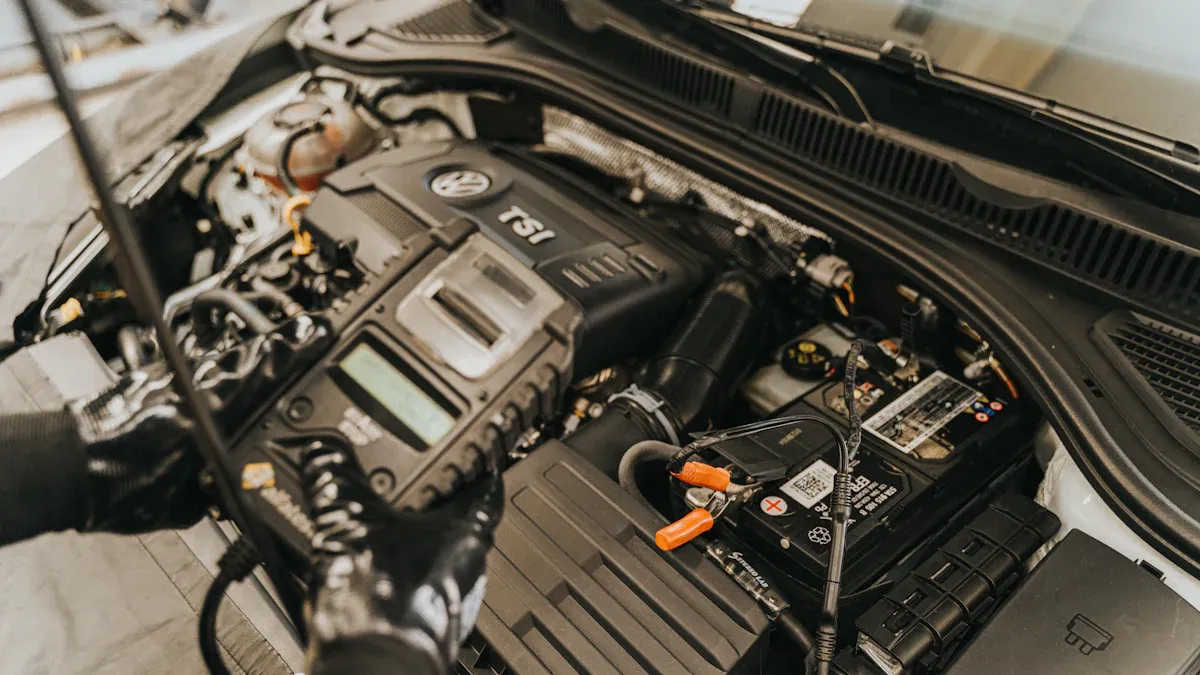
How to Check the Battery
The battery powers your car's electrical system. A bad battery can cause dim lights or a car that won't start. Follow these steps to check it:
-
Preparation: Charge the battery fully. Lead-acid batteries should have 12.6 volts, and lithium batteries need 3.65 volts per cell. Wear gloves and goggles for safety.
-
Connection: Attach the red clamp to the positive terminal and the black clamp to the negative terminal. Clean the terminals first.
-
Load Application: Test the battery by applying a load. Use half the Cold Cranking Amps (CCA) rating for 15 seconds. For deep-cycle batteries, use three times the amp-hour rating for three hours.
-
Voltage Monitoring: Write down the voltage at the start, after 5 seconds, and after 15 seconds. If it drops below 9 volts, the battery might need replacing.
-
Consider External Factors: Temperature and test settings can change results. Don't test discharged or freshly charged batteries, as results may be wrong.
Tip: Use a multimeter with good cables to avoid errors.
Steps for Testing the Alternator
The alternator charges the battery and powers electronics while the engine runs. A bad alternator can drain the battery. Here's how to test it:
|
Condition |
Voltage Range |
|---|---|
|
Battery at rest |
|
|
Engine running (working well) |
13.8 - 14.4 V |
|
Warning sign (problem likely) |
Below 13.8 V or Above 14.4 V |
-
Check the battery voltage with the engine off. It should be about 12.5 volts.
-
Start the engine and check the voltage again. A good alternator gives 13.8 to 14.4 volts.
-
If the voltage is under 13.8 volts, the alternator may not charge the battery. If it's over 14.4 volts, it might overcharge and harm the battery.
Note: Strange voltage readings may mean deeper problems. Run a car diagnostic test to find them.
Inspecting Fuses for Issues
Fuses protect your car's electrical circuits. They melt to stop damage when too much current flows. To check fuses:
-
Find the fuse box in your car. Use the owner's manual if needed.
-
Pull out the fuse with pliers or a fuse puller.
-
Look at the metal strip inside. If it's broken or melted, replace the fuse.
-
Use a new fuse with the same amperage rating. A higher-rated fuse can harm the circuit.
Cheap fuses may not protect your car well. Always use good-quality fuses to avoid electrical problems. If a fuse keeps blowing, there might be a bigger issue in the circuit.
Tip: Keep extra fuses in your car for quick fixes.
Examining Wiring and Connections
Wires are very important for your car’s electrical system. Bad wires can cause flickering lights or sensors to stop working. Sometimes, the car might not start because of wiring issues. Checking wires and connections carefully can stop these problems.
First, look at the wires closely. Check for damage like torn covers, exposed wires, or burnt spots. These problems can block electricity or cause short circuits. Also, inspect connectors. Loose or rusty connectors can break the connection and affect how your car works.
Hidden problems can be tricky to find. For example, a small hole in tape on a relay might hide a short circuit. Take out parts like relays and check them carefully. This helps find problems that you can’t see during a quick look.
Use a multimeter to test wires. Set it to continuity mode. Touch the probes to both ends of the wire. If it beeps, the wire is fine. If it doesn’t, the wire is broken and needs fixing. For connectors, look for rust or dirt. Clean them with contact cleaner to make sure they work well.
Fix wires with good-quality materials. Replace broken wires with ones that match the size and type. Cover open wires with heat shrink tubing or tape to protect them. Use crimpers to secure connections and stop loose ends from causing trouble.
Tip: Disconnect the battery before working on wires to stay safe.
Carefully checking wires and connections keeps your car running smoothly. Small fixes now can stop big problems later.
Step-by-Step Automotive Electronics Repair Process
Replacing a Blown Fuse
A blown fuse is a common car problem. Fuses stop circuits from breaking when too much current flows. Changing a blown fuse is easy if you follow these steps:
-
Turn Off the Ignition: Make sure the car is off before touching the fuse box. This keeps you safe from shocks.
-
Locate the Fuse Box: Use your car manual to find the fuse box. It’s often under the dashboard, in the engine area, or near the glove box.
-
Identify the Blown Fuse: Pull out the fuse with pliers or a fuse puller. A blown fuse will have a melted or broken metal strip inside.
-
Replace with the Correct Fuse: Use a new fuse with the same size, color, and amperage. Never use a fuse with a different rating, as it can harm the circuit.
-
Test the Circuit: After replacing the fuse, check if the broken part (like lights or radio) works again.
Tip: Keep spare fuses in your car. They are cheap and can save you trouble during emergencies.
Fixing Damaged Wiring
Broken wires can cause flickering lights or stop your car from starting. Fixing wiring problems quickly avoids bigger issues. Follow these steps to repair damaged wires:
-
Inspect the Wiring: Look for damage like torn covers, exposed wires, or burnt spots. Check areas near moving parts or heat.
-
Disconnect the Battery: Always unplug the battery before fixing wires to avoid shocks.
-
Repair the Damage:
-
For small damage, cover exposed wires with electrical tape or heat shrink tubing.
-
For big damage, cut out the bad section and replace it with a new wire of the same size. Use crimp connectors or solder the ends for a strong fix.
-
-
Protect the Wiring: After fixing, keep wires safe from water and heat. Use sleeves or covers where needed.
-
Test the Circuit: Plug the battery back in and check if the fixed part works.
Note: Check your wires often to stop problems early. Water and rust can damage wires, so keep them clean and dry.
Testing and Replacing the Alternator
The alternator powers your car’s electronics and charges the battery. If your battery dies often or lights dim while driving, the alternator might be bad. Here’s how to test and replace it:
-
Test the Alternator:
-
Use a multimeter to check the battery voltage with the engine off. It should show about 12.5 volts.
-
Start the engine and check again. A good alternator gives 13.8 to 14.4 volts.
-
If the voltage is outside this range, the alternator may need replacing.
-
-
Remove the Old Alternator:
-
Unplug the battery to stay safe.
-
Take off the serpentine belt and unplug the alternator wires.
-
Unscrew the alternator from its bracket and remove it.
-
-
Install the New Alternator:
-
Place the new alternator in the bracket and tighten the bolts.
-
Reconnect the wires and serpentine belt.
-
Plug the battery back in and start the engine to test the new alternator.
-
Case Study: In one repair, a bad alternator caused error codes. Replacing it with a better one fixed the problem and made the car more stable.
Tip: If you’re not sure how to replace the alternator, ask a mechanic. Doing it wrong can cause more damage.
Fixing Common Sensor Problems
Sensors are very important for your car's electronics. They check systems and send information to the car's control parts. If a sensor breaks, it can cause bad performance, warning lights, or even a breakdown. Knowing how to find and fix sensor problems saves time and money.
Signs of Sensor Issues
You can spot sensor problems by noticing these signs:
-
Check Engine Light: This light often means a sensor is broken.
-
Bad Gas Mileage: A broken oxygen sensor makes the engine use more fuel.
-
Rough Idling or Stopping: A bad mass airflow sensor can mess up the air-fuel mix.
-
Slow Acceleration: A faulty throttle position sensor affects the gas pedal response.
Tip: Use an OBD-II scanner to find error codes. It shows the exact problem.
How to Find and Fix Sensor Problems
Follow these steps to fix sensor issues in your car:
-
Find the Broken Sensor
Use an OBD-II scanner to get error codes. Each code matches a specific sensor. For example, code P0171 may mean an oxygen sensor problem. -
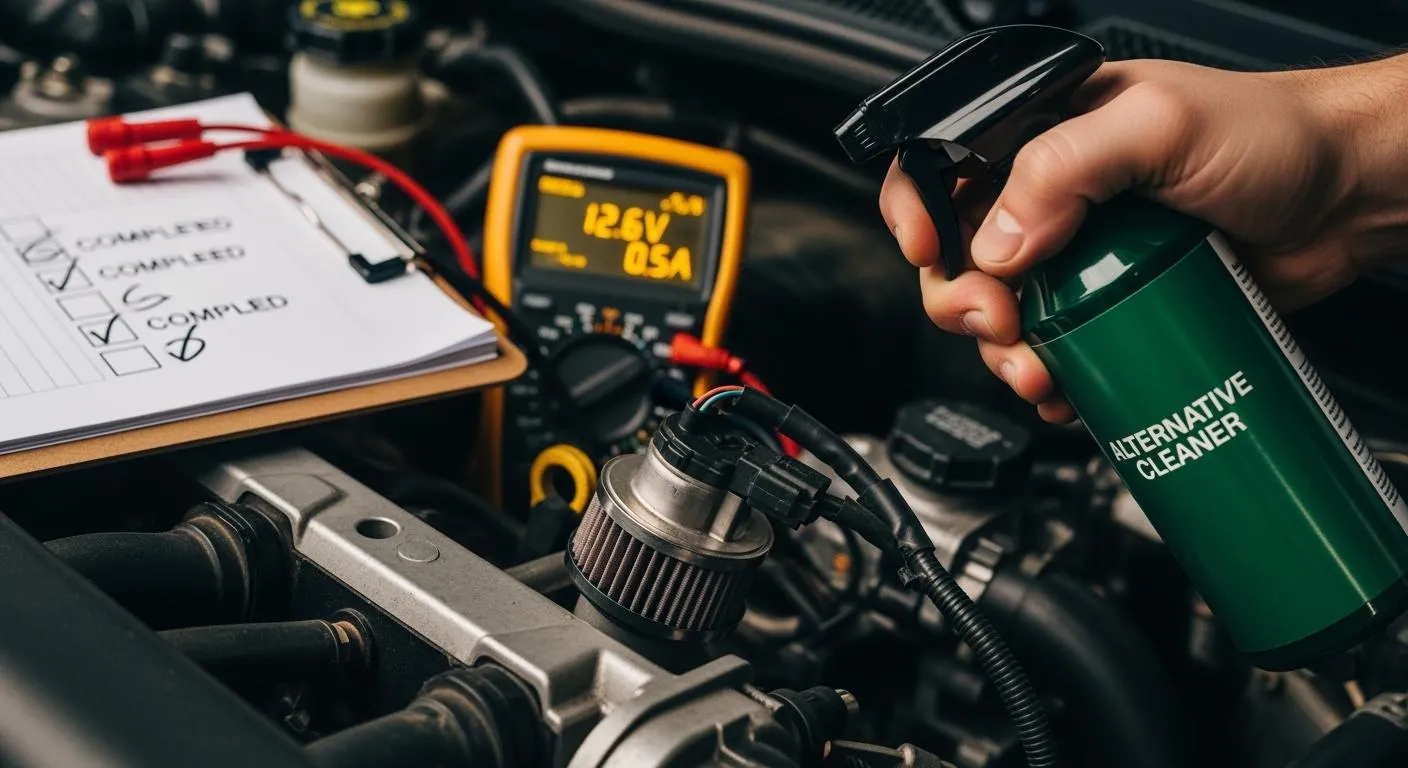
Check the Sensor and Wires
Find the sensor using the error code. Look for damage like torn wires, loose plugs, or dirt. Clean the sensor with a special cleaner if needed. -
Test the Sensor
Use a multimeter to check the sensor's output. Compare the numbers to the car maker's guide. For example, a good oxygen sensor should show 0.1 to 0.9 volts. -
Replace the Sensor if Broken
If the sensor fails the test, put in a new one. Unplug the battery before removing the old sensor to stay safe. Attach the new sensor tightly and reconnect the wires. -
Clear the Error Codes
After replacing the sensor, erase the error codes with the OBD-II scanner. Start the car and check if it works better.
Note: Always buy good-quality sensors to keep your car working well.
Avoiding Sensor Problems
You can stop sensor issues by doing these things:
-
Keep the car's electrical system in good shape. Check wires often.
-
Use good fuel and oil to avoid dirt on sensors.
-
Clean or change air filters as the car maker suggests.
Fixing sensor problems quickly keeps your car running well and avoids big repair costs.
When to Seek Professional Help for Car Electronics Repair
Complex Computer Diagnostics
Some car issues need special tools and skills. Advanced computer checks involve studying your car's onboard systems. These systems control things like engine power, fuel use, and safety. If warning lights stay on or your car acts strange, a professional can find the problem.
Modern tools, like AI systems, are very accurate. For example, in 2023, AI tools like GPT-4 Medprompt reached 90.2% accuracy. These tools find hidden problems, like bad sensors or software errors, that manual checks might miss. Experts use these tools to quickly spot issues and suggest fixes.
Tip: If your car's computer needs reprogramming, go to a certified expert. Wrong reprogramming can cause more electrical problems.
Advanced Wiring Repairs
Wiring troubles can mess up your car's electrical system. You can fix small problems, like exposed wires, but bigger wiring issues need experts. Modern cars have complex wiring that’s hard to fix without training. Trying to repair it yourself could cause short circuits or damage other parts.
Professionals use a step-by-step method to fix wiring problems. They check the damaged area, study data, and work with teams to understand the issue. They also use special tools to make sure repairs are safe and meet standards.
Note: If your car keeps having electrical problems or has burnt wires, see a professional. These could be signs of bigger wiring issues.
Issues with Vehicle Control Modules
Control modules manage key systems like engine timing, gears, and brakes. If these modules fail, your car may perform poorly. For instance, a bad engine control module can lower fuel efficiency or make starting the car hard.
Finding module problems needs special tools and knowledge. Experts check data, consider specific factors, and consult specialists if needed. They also document their work and run quality checks to avoid mistakes.
If your car has repeated module failures, get professional help. They can replace or reprogram the module to fix your car.
Tip: Always choose high-quality replacement modules to avoid future problems.
Fixing your car's electrical system begins with knowing the basics. You now know how to check the battery, test the alternator, look at fuses, and check wires. These steps help find and fix problems easily.
Start with easy fixes like changing fuses or repairing wires. These small tasks save money and make you more confident. For harder issues, like control module problems, ask a professional to avoid mistakes.
Learning car electrical repair makes you more independent. It helps you rely less on mechanics and care for your car. With time, you can fix common problems and keep your car in good shape.
Tip: Always stay safe and use strong, good-quality tools for the best results.
FAQ
What should you do if your car’s electrical system suddenly fails?
First, check the battery. See if the terminals are loose or dirty. If the battery looks fine, check the fuses and wires. Use a multimeter to measure voltage. If you can’t find the problem, ask a professional for help.
Tip: Keep a small tool kit in your car for emergencies.
How can you tell if a fuse is blown?
A blown fuse has a broken or melted metal strip inside. Take out the fuse and hold it up to the light to check. If unsure, test it with a multimeter for continuity. Replace it with a new fuse of the same amperage.
Why does your car battery keep dying?
A dead battery might mean a bad alternator, old battery, or power drain. Use a multimeter to check the alternator output. Look for loose wires or short circuits. If the battery is older than three years, replace it.
Can you fix damaged wiring yourself?
Yes, small wiring problems can be fixed at home. Cover minor damage with tape or heat shrink tubing. For bigger issues, replace the bad wire with one of the same type. Always unplug the battery before working to stay safe.
When should you seek professional help for car electronics?
Call a professional for hard problems like module failures or big wiring issues. Experts have the right tools and skills to fix these safely and correctly.