Working with Integrated Circuit Manufacturers: From Design to Production
When you work with integrated circuit manufacturers, you need clear goals. Talk openly with them from the start. Share technical documentation early so no one gets confuse

When you work with integrated circuit manufacturers, you need clear goals. Talk openly with them from the start. Share technical documentation early so no one gets confused. Protect your ideas by talking about intellectual property before you share designs. Plan each step with your manufacturing partners to set real expectations. Integrated circuit manufacturers need detailed information, so give them complete and correct data. Early planning helps everyone go from design to production easily.
Key Takeaways
-
Begin with clear design goals and give detailed documents early. This helps stop confusion and mistakes. - Pick manufacturers who have good skills and strong quality control. Make sure they talk clearly so working together is easy. - Test prototypes carefully. Use what you learn to make your design better before making many chips. - Watch each step in silicon chip production closely. This keeps quality high and cuts down on waste. - Plan your supply chain and quality checks well. This helps keep production steady and makes sure chips work well.
Design Preparation
Requirements Definition
You begin the ic design process by deciding what your product should do. Write down each function and feature you want. Think about how fast it should work, how much power it uses, and its size. You also need to choose how the integrated circuit will connect to other parts. Make a list of all these requirements. This step keeps you and your team on track. When your goals are clear, you make fewer mistakes later. Good requirements help guide every part of the ic design process.
Tip: Get everyone on your design team involved early. Each person can notice different needs or problems.
Integrated Circuit Design
After you know your requirements, you start integrated circuit design. You and your team draw schematics to show how everything connects. Use electronic design automation tools for this step. These tools help you draw circuits and find mistakes. You also plan the layout, which is where you put each part on the chip. A good layout helps your chip run faster and use less power. Your team checks each part to make sure it matches your goals.
A well-documented design process helps in many ways. Here is a table that shows how good documentation helps your project:
|
Metric / Factor |
How It Helps Your Project |
|---|---|
|
Throughput |
Better layout and integration increase speed |
|
Power Dissipation |
Careful design lowers power use and cooling needs |
|
Chip Area |
Smart partitioning keeps the chip small and efficient |
|
I/O Bandwidth |
Good documentation reduces delays in communication between components |
|
Design Productivity |
Clear steps help your design team work faster and smarter |
|
Validation Complexity |
Shared design views make testing easier |
|
Architecture Synthesis |
Lets you explore different ways to meet your goals |
|
RTL Synthesis |
Makes your design easier to update and reuse |
You can see that a strong design process helps with speed, power, size, and teamwork. Your team can fix problems faster and make better choices.
Design for Manufacturability
You must make sure your design is simple to build. This step is called design for manufacturability. You check if your layout works with the factory’s tools and machines. You look at how close the parts are to each other. You also check if the layout could cause problems during layout production. If you find any issues, you change the design before sending it to the manufacturer.
Note: Good documentation and a clear first layout make it easy to give your design to the manufacturer. You avoid delays and expensive mistakes.
Your team checks every part of the layout production process. They make sure the design follows all the rules for building chips. When you finish this step, your design is ready for the next phases. You can trust your chip will work as planned and be easy to make.
Choosing Integrated Circuit Manufacturers
Evaluating Capabilities
When you pick integrated circuit manufacturers, look at their skills. Check if they have done work like yours before. Not every company can make your design or meet your needs. Ask about their quality rules and how they keep work the same each time. You want a partner who gives good results every time.
You can use numbers to compare different manufacturers. These numbers show how well a company runs and makes products. Here is a table with some important numbers:
|
Metric Category |
Performance Metric |
Description |
|---|---|---|
|
Financial Metrics |
Gross Margin |
Shows how much profit they make from sales. |
|
Capex to Sales |
Tells you how much they invest back into their business. |
|
|
Debt to EBITDA |
Checks if they can pay off their debts. |
|
|
Return on Average Assets |
Measures how well they use their equipment to make money. |
|
|
Inventory Turnover Ratio |
Shows how quickly they sell what they make. |
|
|
Fabrication Metrics |
Wafer Capacity |
Tells you how many wafers they can produce. |
|
Average Selling Price |
Shows the price they get for each wafer. |
|
|
Capacity Utilization Rate |
Measures how much of their factory they actually use. |
|
|
Shipment Volume |
Tells you how many chips they send out. |
Tip: Always ask for the latest numbers on these things. This helps you choose the best partner for your project.
Communication and SoW
Talking clearly with integrated circuit manufacturers helps your project go well. Share your design goals and what you need to make early. Clear talks help both sides avoid mistakes and waiting. A statement of work, or SoW, is a helpful tool. This paper lists what you want from the manufacturer and what they will give you. It covers when things are due, how much they cost, and how to check quality.
A SoW sets clear rules for working together. Both you and the manufacturer know what to do and when. This builds trust and keeps your project moving. If there is a problem, you can look at the SoW for answers.
Note: Go over your SoW with your team before you sign it. Make sure it matches your design and making plans.
Prototyping and Tapeout
Documentation Handoff
Before you make a prototype, get your design files ready. This step is called documentation handoff. You gather your schematics, layout files, and test plans. Add notes about why you made certain design choices. Giving clear documents to the manufacturer helps them avoid mistakes. Good documentation helps the team build your silicon chip correctly.
Tip: Check your files for mistakes or missing parts. This can save time and money later.
Prototype Fabrication
Once you give your documents, the manufacturer starts making your prototype. They use your design to make a small group of silicon chips. This step lets you see if your design works in real life. You can measure how well your chip works. For example, one prototype thermoelectric module used BiSb-based alloy bars on an AlN substrate. It was tested with a strong magnetic field. The team measured an output power of 0.48 mW with a temperature difference of 149 K. They also saw a cooling operation temperature difference of 82 mK with a current of 100 mA. These numbers show how well the prototype works and help you judge your silicon chip’s success.
Always test your prototype carefully. Look for problems or surprises. Use the results to decide if you need to change your design.
Tapeout Milestone
Tapeout is a big step in making a silicon chip. You reach tapeout when your design is finished and sent to the factory for final production. This milestone means your design is ready for mass manufacturing. You should celebrate this step, but also stay careful. Make sure every detail matches your plans. Tapeout locks your design, so changes after this point can cost a lot.
Careful work during prototyping and tapeout helps you get the best silicon chips for your project.
Validation and Iteration
Testing Prototypes
You need to test your prototypes to see if your design works as planned. Start by checking each function of your chip. Use test equipment to measure how your devices perform. Look at how the components handle power, speed, and temperature. Write down your results in a table so you can compare them to your goals.
|
Test Item |
Expected Result |
Actual Result |
Pass/Fail |
|---|---|---|---|
|
Power Usage |
1.2 mW |
1.3 mW |
Pass |
|
Speed |
500 MHz |
480 MHz |
Pass |
|
Temperature |
< 70°C |
68°C |
Pass |
If you find problems, mark them for review. Sometimes, you will see that some devices do not work as you expected. You may also notice that some components fail under certain conditions.
Tip: Always repeat your tests to make sure your results are correct. This helps you catch small errors before they become big issues.
Design Revisions
After testing, you need to make changes to your design. Look at the test data and find out what needs fixing. Change the layout or swap out components that do not meet your needs. Update your design files and check that all changes match your requirements.
You may need to talk with your manufacturer about these updates. Share your new design and explain why you made changes. This step helps you improve your devices and get closer to your final product.
Good design revisions help you avoid costly mistakes in later stages. You build better devices and stronger components with each round of testing and updates.
Silicon Production
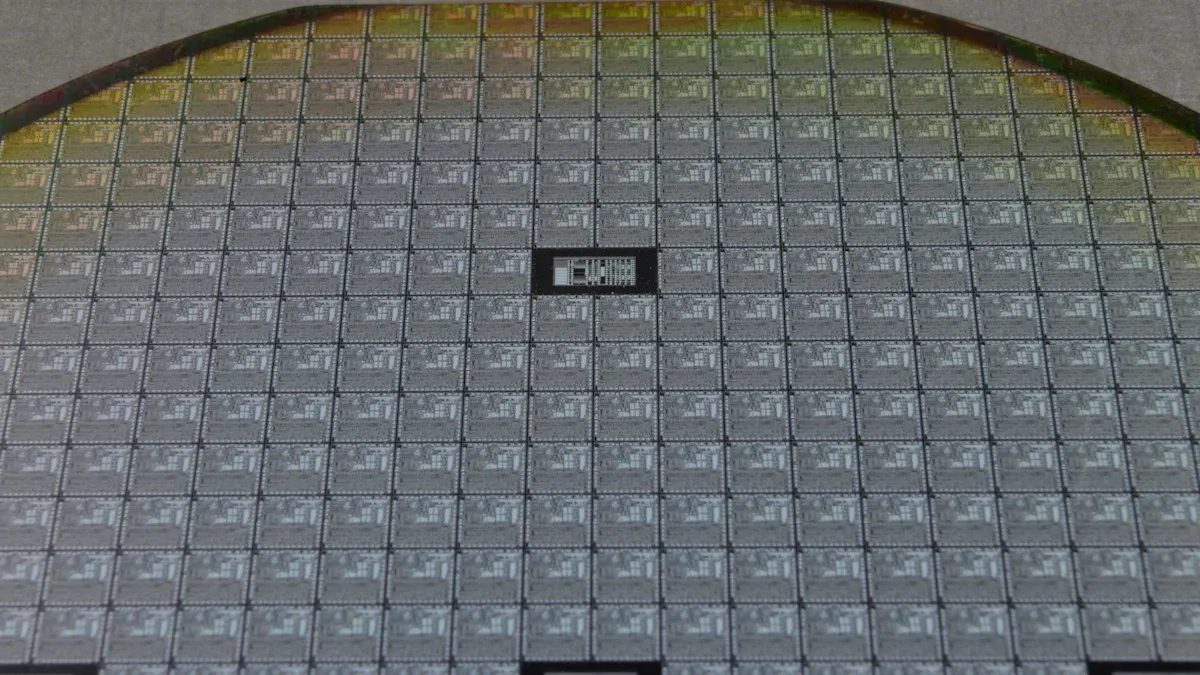
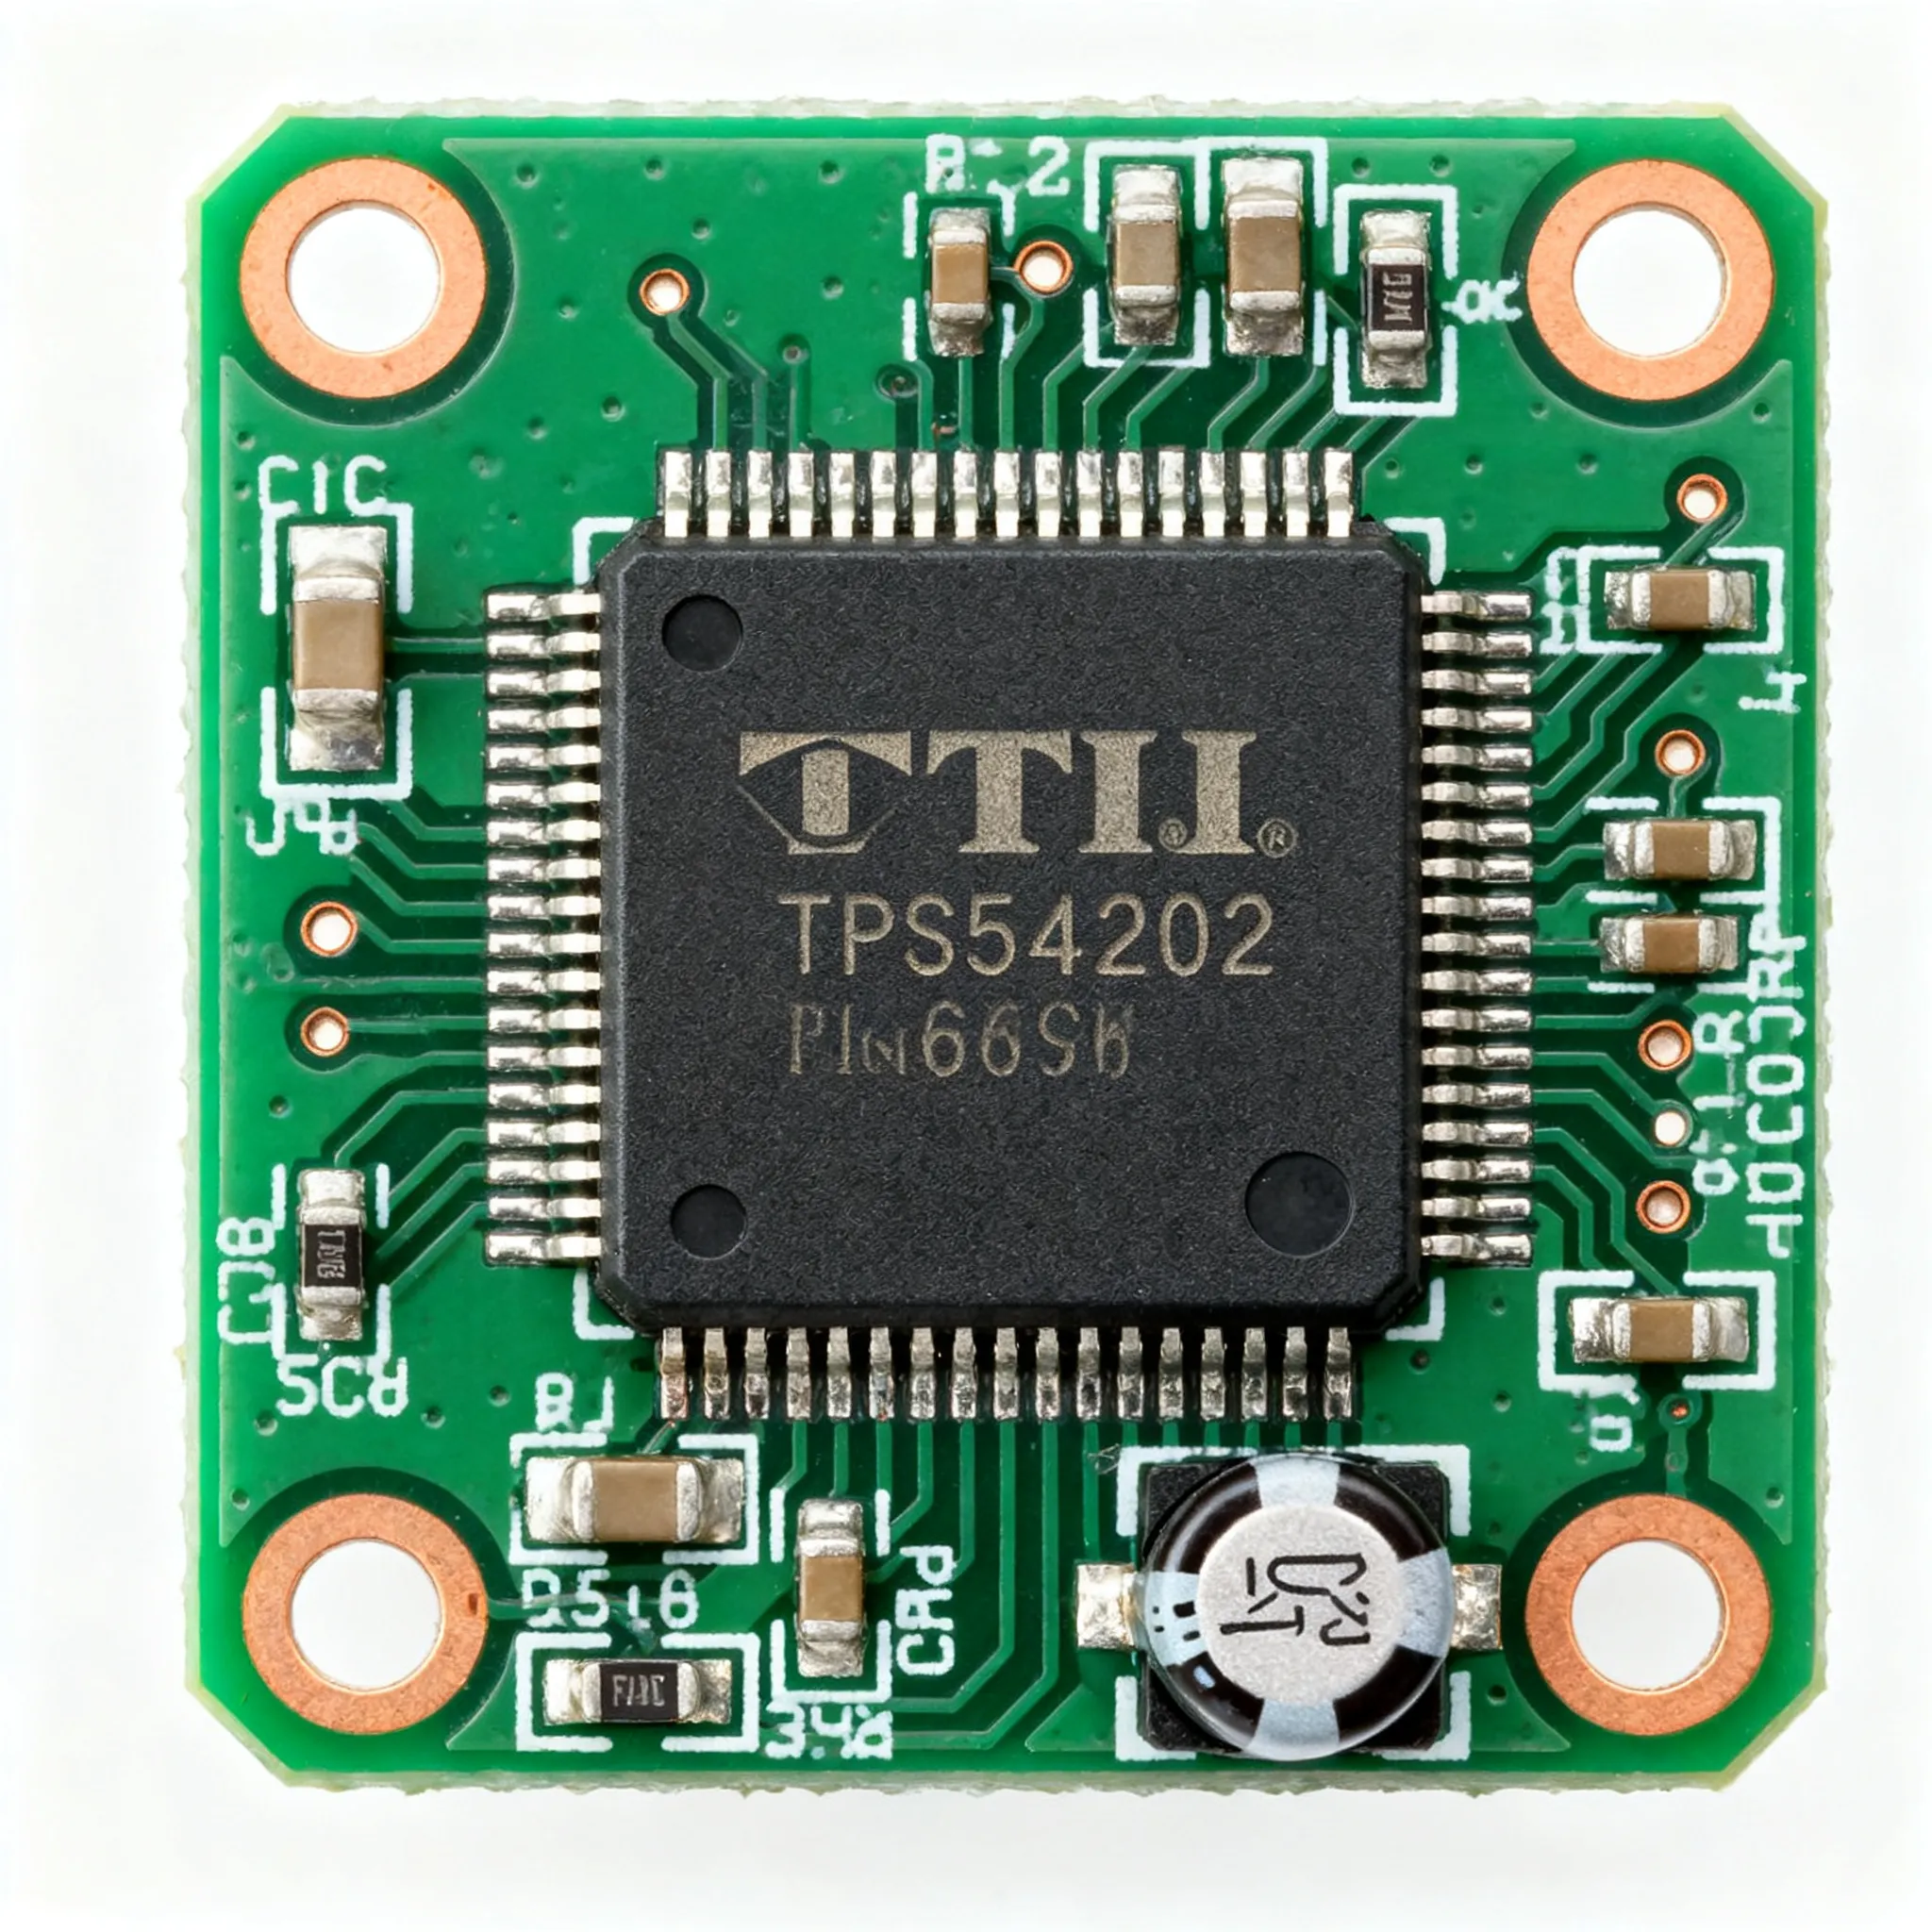
Wafer Fabrication
You start silicon chip manufacturing with a thin, round slice called a silicon wafer. Factories use silicon as the semiconductor because it is easy to find and works well for electronics. You see silicon integrated circuits in almost every device today.
The process begins with a pure silicon crystal. Workers cut this crystal into wafers. Each wafer looks like a shiny, flat disk. You clean the wafer to remove dust and dirt. Clean wafers help you avoid defects in your chips.
Next, you build up layers on the wafer. You use a process called deposition to add thin films of materials. These films can be metals or insulators. You need these layers to make the circuits work.
After deposition, you use photolithography. In this step, you shine light through a mask onto the wafer. The mask has patterns that match your circuit design. The light changes a special coating on the wafer. You then wash away parts of the coating to leave the pattern behind.
Now, you use etching to remove unwanted material. Etching can use chemicals or plasma. This step carves out the shapes you need for your circuits. You repeat deposition, photolithography, and etching many times. Each cycle adds more detail to your silicon ic technology.
Factories use advanced tools to control every step. They check the wafer for tiny errors. These checks help you keep the yield high. Yield means how many good chips you get from each wafer. High yield saves you money and time.
Tip: Always monitor the process closely. Small mistakes can ruin many chips.
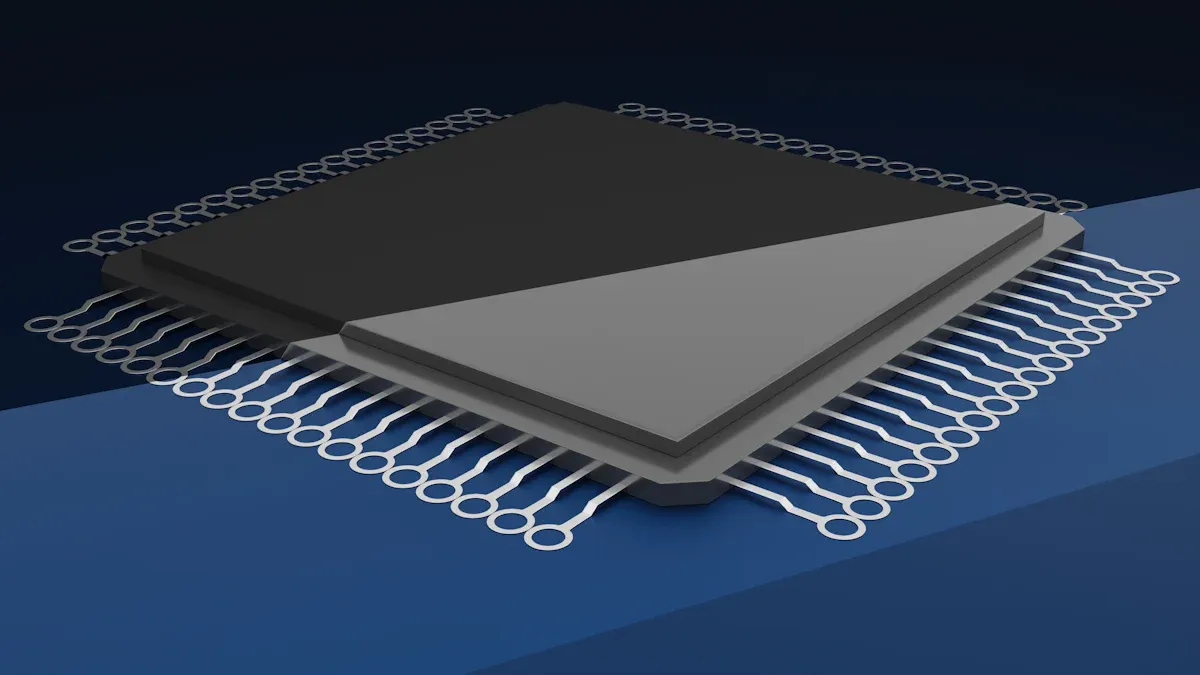
Packaging and Testing
When you finish building the circuits, you cut the wafer into small pieces. Each piece is a chip. You cannot use the chip until you protect it. You place each chip in a package. The package shields the chip from dust, heat, and moisture. It also lets you connect the chip to other parts.
You test each chip before you send it out. Testing checks if the chip works as planned. You measure speed, power, and other features. If a chip fails, you do not use it in your product.
Factories use robots and sensors to test many chips quickly. These tools help you find problems fast. You can fix issues in the process to improve future chips.
Here is a simple table that shows the main steps in silicon production:
|
Step |
What Happens |
Why It Matters |
|---|---|---|
|
Wafer Cleaning |
Remove dust and dirt |
Prevents defects |
|
Deposition |
Add thin layers |
Builds circuit structure |
|
Photolithography |
Pattern the wafer |
Shapes the circuit |
|
Etching |
Remove unwanted material |
Defines circuit paths |
|
Packaging |
Protect and connect the chip |
Makes chip usable |
|
Testing |
Check chip performance |
Ensures quality |
You see semiconductors in many forms, but silicon stands out. You rely on silicon as the semiconductor for most modern electronics. The process for making these chips keeps getting better. Factories use new machines and software to spot problems early. These advances help you get more good chips from each wafer.
Note: Better process control and yield improvement mean you get more working chips and less waste. This helps you save money and deliver better products.
Silicon production is a key part of the journey from design to finished device. You need to understand each step to make the best choices for your project.
Mass Production
Scaling Up
When you go from making a few chips to millions, things change. Scaling up means you make more chips and need bigger factories. Some factories make over 10 million chips every year. Some countries want to make 50 million integrated circuits each year. You must keep your work very exact. Sometimes, you need to be as precise as 10^-7 meters. For most gadgets, 10^-6 meters is enough. The table below shows some big facts about making lots of electronic devices:
|
Indicator/Trend |
Numerical Value/Description |
|---|---|
|
Production line capacity |
Over 10 million items per year |
|
National production target |
50 million integrated circuits per year |
|
Manufacturing precision tolerances |
10^-7 m (special); 10^-6 m (consumer) |
|
Annual production of integrated circuits |
3–5 million units with ~10,000 components each |
|
Variety of IC products by 1985 |
More than 1,000 kinds |
|
Small/medium-scale IC auxiliary equipment |
Over 300 kinds meeting MIL standards |
|
Total electronic components produced annually |
About 10 billion components |
|
Yield and failure rate improvements |
Efforts to increase yield and decrease failure rate |
You can see that making more chips means you have to watch quality at every step.
Quality Assurance
You want every chip to work right. Quality assurance helps you find problems early. Many factories use the chi-square test to look for bad chips. This test checks if what you see matches what you expect. Here are some ways this helps:
-
You can find lots of problems, like cracks or bad connections, and fix them.
-
When you fix these, you often see fewer bad chips, sometimes by 20% or more.
-
You gather data, do the test, and use the answers to make changes.
-
If the p-value is less than 0.05, you know the problem is real.
-
These steps help you make better chips and waste less.
Good quality checks help you save money and make your chips more reliable.
Supply Chain
A strong supply chain keeps your factory running. You need a steady flow of silicon and other parts. You also need good partners for packing and shipping. If one part of the supply chain breaks, your chips might not get to customers on time. The future of silicon ic manufacturing depends on smart supply chain planning. You should plan for delays and have backup suppliers. This way, your chips keep moving from the factory to the store.
Tip: Make friends with your suppliers. This helps you fix problems fast and keeps your factory working.
You move from idea to finished chip by following clear steps. Start with a strong design. Share your design with your team and your manufacturer. Test your design at every stage. Work closely with your partners. Keep your documents safe and protect your ideas. Use quality checks to catch problems early. When you plan each step, you help your project succeed.
Tip: Good teamwork and careful planning make your journey from prototype to production much smoother.
FAQ
What documents do you need before starting production?
You must get schematics, layout files, and test plans ready. You also need a statement of work. These papers help the manufacturer know your design. They use them to build your chip the right way.
How do you protect your design when working with manufacturers?
You should sign a non-disclosure agreement, or NDA, first. This agreement keeps your ideas safe from others. It stops people from copying your work.
Why is testing prototypes important?
Testing helps you find problems early in the process. You can fix mistakes before making lots of chips. This step saves both time and money.
Tip: Test your prototypes more than once to find hidden problems.
What should you look for in a good manufacturing partner?
You want a partner who has experience and strong quality checks. Good communication is important too. Ask to see their past project results. Make sure they follow industry standards.