Understanding the Need for 120 Ohm Termination in CAN Networks
You need a 120 ohm terminating resistor at each end of a controller area network to keep your CAN bus working reliably. With
You need a 120 ohm terminating resistor at each end of a controller area network to keep your CAN bus working reliably. Without proper termination, signal reflections can create noise and random errors, making communication unstable. The 120 ohm resistor matches the cable’s characteristic impedance, which engineers test using a square wave generator and oscilloscope. This resistor absorbs energy and prevents ringing, helping maintain signal integrity. If you skip termination resistors, your network may suffer from repeated errors, missed messages, and difficult troubleshooting.
- Problems solved by termination resistors:
- Prevents signal distortion and ringing
- Maintains correct message timing across the network
Key Takeaways
- Always place a 120 ohm resistor at each physical end of your CAN bus to prevent signal reflections and keep communication stable.
- The 120 ohm resistor matches the cable’s characteristic impedance, which helps maintain clear signals and reduces errors.
- Use a multimeter to measure resistance between CAN High and CAN Low; a reading near 60 ohms confirms correct termination.
- Keep stub lengths short and use a linear bus layout to avoid signal distortion and maintain network reliability.
- Choose resistors with the right value and power rating to ensure long-lasting, error-free CAN bus operation.
Why Termination Resistors Are Essential

120 Ohm Terminating Resistor Role
You rely on the 120 ohm terminating resistor to keep your controller area network stable and error-free. This resistor matches the characteristic impedance of the twisted pair cable in your CAN bus. When you install a 120 ohm resistor at each end of the network, you stop unwanted reflections from bouncing back along the wires. These reflections can distort voltage levels and cause communication errors. The 120 ohm resistor helps maintain the correct voltage difference between CAN_H and CAN_L, which is vital for accurate data transmission. You also ensure that the bus returns quickly to its idle state after sending a message. The value of 120 ohms is not random; engineers chose it based on the cable’s physical properties and the need for reliable communication.
Tip: You should always use a 120 ohm terminating resistor at both ends of your CAN bus to match the cable’s impedance and prevent problems.
Preventing Signal Reflection
When you send signals through a CAN bus, every wire has a characteristic impedance. If you do not match this impedance with a 120 ohm resistor, signals reach the end of the cable and bounce back. These reflections interfere with new signals, causing distortion and errors. By placing a 120-ohm termination resistor at each end, you absorb the signal energy and stop reflections. This practice is especially important for high-speed CAN networks and longer cables. If you skip proper termination, you risk losing messages and lowering your network’s performance.
- How 120 ohm resistors prevent reflection:
- They absorb signal energy at the cable ends.
- They stop signals from bouncing back and causing interference.
- They keep voltage levels steady for accurate communication.
| Aspect | Explanation |
|---|---|
| Termination | 120 ohm resistors at each end prevent signal reflections, maintaining signal integrity. |
| Cable Length | Longer cables increase signal attenuation and delay, degrading signal quality at high speeds. |
| Data Rate | High-speed CAN supports up to 1 Mbps, but requires cable length under ~40 meters with proper termination. |
| Impact of No Termination | Reflections cause errors, reducing max data rate and cable length achievable. |
Maintaining Signal Integrity
You need to focus on maintaining signal integrity to keep your controller area network working well. The 120 ohm resistor plays a key role in this process. It keeps the voltage levels and timing of the differential signals steady. When you use 120-ohm termination resistors, you prevent ringing and distortion that can ruin your data. You also help the bus lines return to their idle state quickly, which is important for fast and reliable communication. If you want to check your network, measure the resistance between CAN_H and CAN_L. You should see about 60 ohms, which means you have two 120 ohm resistors in parallel. If you see a different value, you may have too many or too few resistors, which can cause problems.
- Ways to maintain signal integrity:
- Use 120 ohm terminating resistors at both ends of the CAN bus.
- Keep stub lengths short, especially for high-speed CAN (less than 30 cm).
- Avoid adding extra resistors in the middle of the network.
- Make sure your cable length matches your data rate needs.
Note: You can improve signal quality by using series resistors on your PCB and keeping traces short. Pull-up or pull-down resistors can also help stabilize signals in some cases.
You see that termination resistors are essential for preventing signal reflection, maintaining signal integrity, and ensuring data integrity in your CAN bus network. When you follow these practices, you get reliable communication and fewer errors.
CAN Bus Signal Transmission
Differential Signaling
You use differential signaling in a CAN bus to make your network strong against noise. The system relies on two wires, called CAN High (CANH) and CAN Low (CANL). Data transmission happens by changing the voltage difference between these wires, not by using the voltage to ground. This method gives your network excellent noise immunity. For a dominant state, CANH rises and CANL drops, creating about a 2V difference. In the recessive state, both wires sit near the same voltage. You do not need a common ground, so devices with different ground levels can still talk to each other. Termination resistors at each end of the bus help absorb signals and keep your data transmission clear and reliable.
- CAN bus uses two wires: CANH and CANL.
- Data transmission depends on the voltage difference, not the absolute voltage.
- Dominant state: about 2V difference.
- Recessive state: both wires near 2.5V.
- Termination resistors prevent signal reflections and keep the network stable.
Characteristic Impedance
You must pay attention to the characteristic impedance of your CAN bus cable. This value comes from the cable’s physical features, like wire size, insulation, and how tightly the wires twist together. The standard sets this impedance at 120 ohms. Ensuring impedance matching between the cable and the termination resistors is key for proper data transmission. If you use cables with different impedance, you may see more signal reflections and errors. Proper impedance matching keeps your network reliable and helps you avoid communication problems.
- Characteristic impedance is set by cable design.
- 120 ohms is the standard for CAN bus.
- Ensuring impedance matching with 120-ohm resistors prevents signal loss.
Bidirectional Communication
You benefit from bidirectional communication in a CAN network. Every device can send and receive messages on the same pair of wires. The differential signaling and ensuring impedance matching allow for fast and reliable data transmission in both directions. When you install termination resistors at both ends, you help the network return to its idle state quickly after each message. This setup supports multiple devices and keeps your data transmission smooth, even in noisy environments.
Tip: Always check your cable and resistor values to keep your CAN network working at its best.
Implementation of 120-Ohm Termination Resistors
Placement at Bus Ends
You must place a 120 ohm resistor at each physical end of your CAN bus cable. This placement is not optional. It matches the cable’s impedance and keeps your signals clean. You do not need a terminal resistor at every device. Only the two devices at the ends of the network require a 120 ohm resistor. If you add more, you risk signal reflections and errors. If you use fewer, you lose signal integrity and may see communication failures. Always check that your CAN bus forms a single straight line, not a star or ring. Intermediate devices connect to the main cable with short stubs, but only the ends get the terminal resistor.
Tip: For best practices for implementing termination resistors, always use a linear bus layout and keep stub lengths under 30 cm. This helps prevent unwanted signal bounce and keeps your network reliable.
Compliance with ISO 11898
You need to follow the ISO 11898-2 standard when you set up your CAN network. This standard says you must use a 120 ohm resistor at each end of the high-speed CAN bus. The terminal resistor matches the cable’s impedance and supports the differential signaling that CAN uses. This setup creates a low-impedance path between CAN High and CAN Low, which keeps voltage levels stable. If you use more or fewer than two 120 ohm resistors, you break the standard and risk communication errors. Some CAN hardware lets you switch the terminal resistor on or off with software, but you still need exactly two active at the ends. For low-speed CAN, the rules change, and each node may have its own resistor, but for most networks, you only need to focus on the ends.
Here is a quick comparison:
| CAN Type | Terminal Resistor Placement | Total Resistance (Ohms) |
|---|---|---|
| High-Speed (ISO 11898-2) | 120 ohm at each end of bus | ~60 |
| Low-Speed (ISO 11898-3) | At each node, distributed | 100-500 |
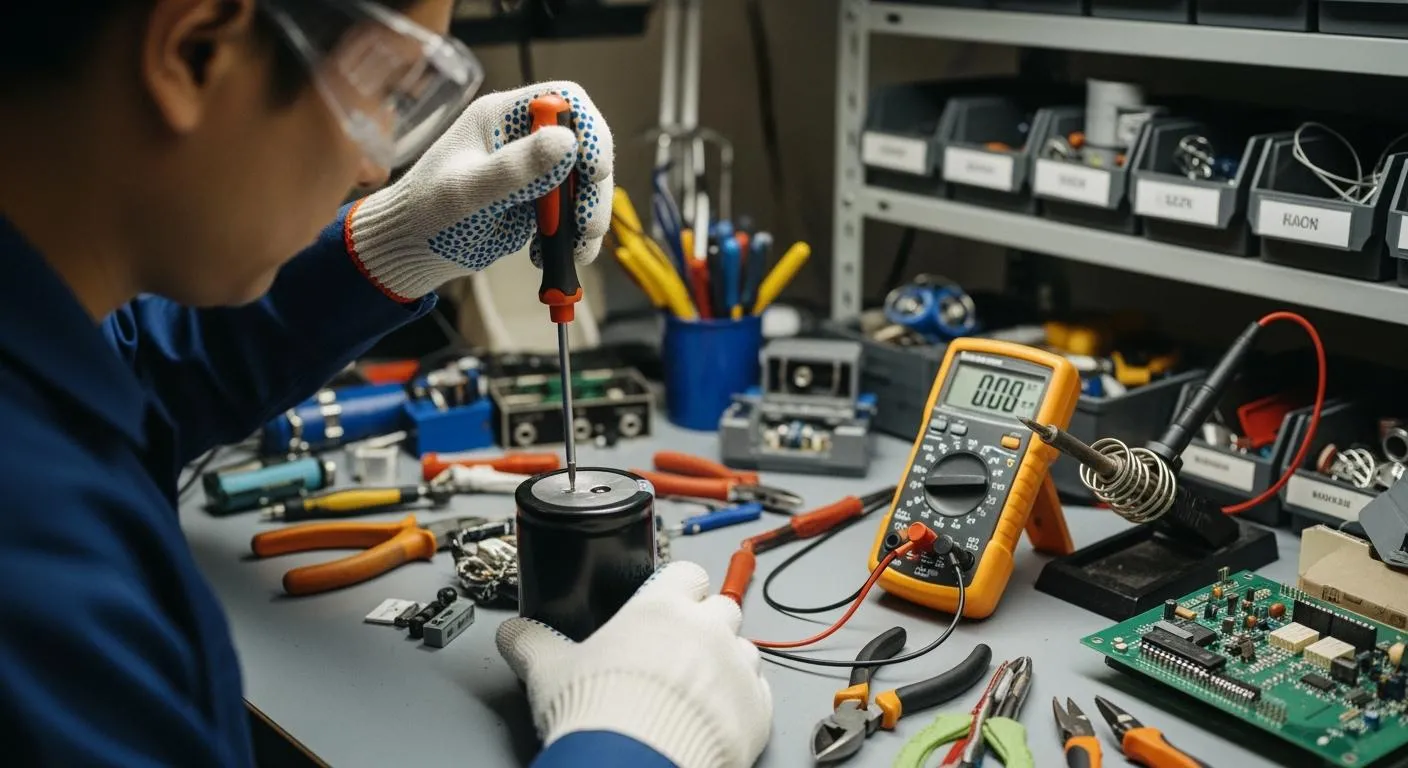
Measuring Resistance
You can check if your CAN bus has the correct terminal resistor setup by measuring the resistance between CAN High and CAN Low. First, turn off all power to the network. Use a multimeter to measure across the two lines. If you see about 60 ohms, you have two 120 ohm resistors in parallel, which is correct. If you see a much lower value, you may have added extra resistors by mistake. If you see a higher value, you may be missing a terminal resistor. Always measure with the system unpowered to avoid false readings.
Follow these steps to verify your setup:
- Power off the entire CAN network.
- Use a multimeter to measure resistance between CAN High and CAN Low.
- Expect a reading close to 60 ohms for a properly terminated high-speed CAN bus.
- If the value is wrong, check for missing or extra 120 ohm resistors at the ends.
- Make sure all stubs are short and the cable is shielded for best performance.
Note: If you measure around 45 ohms, you may have three terminal resistors installed. Remove the extra one to restore proper operation.
You now know how to place, verify, and measure your 120 ohm resistor setup. This ensures your CAN network stays reliable and free from communication errors.
Selecting and Installing Termination Resistors
Choosing Correct Value
You need to select the right 120 ohm resistor for your CAN network to keep communication stable. The value of the termination resistors must match the characteristic impedance of your CAN bus cable, which is usually 120 ohms. If you use a resistor that is too high, you increase signal reflections and risk data corruption. If you use a resistor that is too low, you add extra load to the bus and weaken the signals. Always check the resistor’s tolerance. Most CAN systems work well with 1% or 5% tolerance, but high-precision resistors (0.1% to 0.5%) help maintain signal integrity in demanding environments.
- Place the 120 ohm resistor at each end of the CAN bus, not at every node.
- Use a multimeter to verify the resistance between CAN_H and CAN_L after installation. You should see about 60 ohms if both termination resistors are present.
- Make sure the resistors are connected in parallel across the differential lines.
Tip: Environmental factors like temperature and vibration can affect resistor performance. Choose resistors rated for your application.
Power Rating
You must consider the power rating when choosing a 120 ohm resistor for CAN bus termination. The resistor needs to handle the power it will dissipate during operation. For most automotive and industrial CAN networks, a 0.25W (or 1/4 watt) resistor is a safe choice. Some systems use 0.125W resistors, but these may fail in harsh conditions or during faults. Using a resistor with a higher power rating helps prevent overheating and increases reliability.
| Power Rating | Typical Use Case | Reliability |
|---|---|---|
| 0.125W | Standard, low-stress networks | Good (may fail in faults) |
| 0.25W | Automotive, industrial, harsh | Excellent |
Note: Always choose a power rating that matches your system’s voltage and current to avoid resistor failure.
Common Mistakes
You can avoid many CAN bus problems by following best practices for implementing termination resistors. Some common mistakes include:
- Forgetting to install a 120 ohm resistor at both ends of the CAN bus.
- Using the wrong resistor value instead of the standard 120 ohm resistor.
- Placing resistors anywhere other than the physical ends of the bus.
- Failing to check the total resistance between CAN_H and CAN_L after installation.
- Ignoring the effects of missing or extra termination resistors, which can cause communication errors or complete network failure.
Callout: Always measure the resistance between CAN_H and CAN_L with the power off. You should see about 60 ohms for a properly terminated high-speed CAN bus.
By selecting the correct 120 ohm resistor, checking the power rating, and avoiding common mistakes, you ensure your CAN network remains reliable and free from data errors.
You ensure reliable CAN bus operation by installing 120 ohm termination resistors at each end of the network. This simple step prevents signal reflections and keeps your communication stable. Always use a linear bus layout, keep stub lines short, and verify about 60 ohms between CANH and CANL.
Remember: Careful placement and proper installation of termination resistors help you maintain a robust network and avoid costly troubleshooting.
FAQ
What happens if you forget a termination resistor in your CAN bus?
You may see random errors and lost messages. The network can become unstable. Signal reflections can cause noise. Always check for two 120 ohm resistors at the ends.
Can you use a different resistor value instead of 120 ohms?
You should not use a different value. The 120 ohm resistor matches the cable’s impedance. Using another value can cause signal reflections and data errors.
How do you check if your CAN bus has proper termination?
Turn off the power. Use a multimeter to measure resistance between CAN_H and CAN_L. You should see about 60 ohms. This means you have two 120 ohm resistors in parallel.
Do all devices on the CAN bus need termination resistors?
No, only the two devices at the physical ends of the bus need 120 ohm resistors. Devices in the middle do not need them. Too many resistors can cause problems.