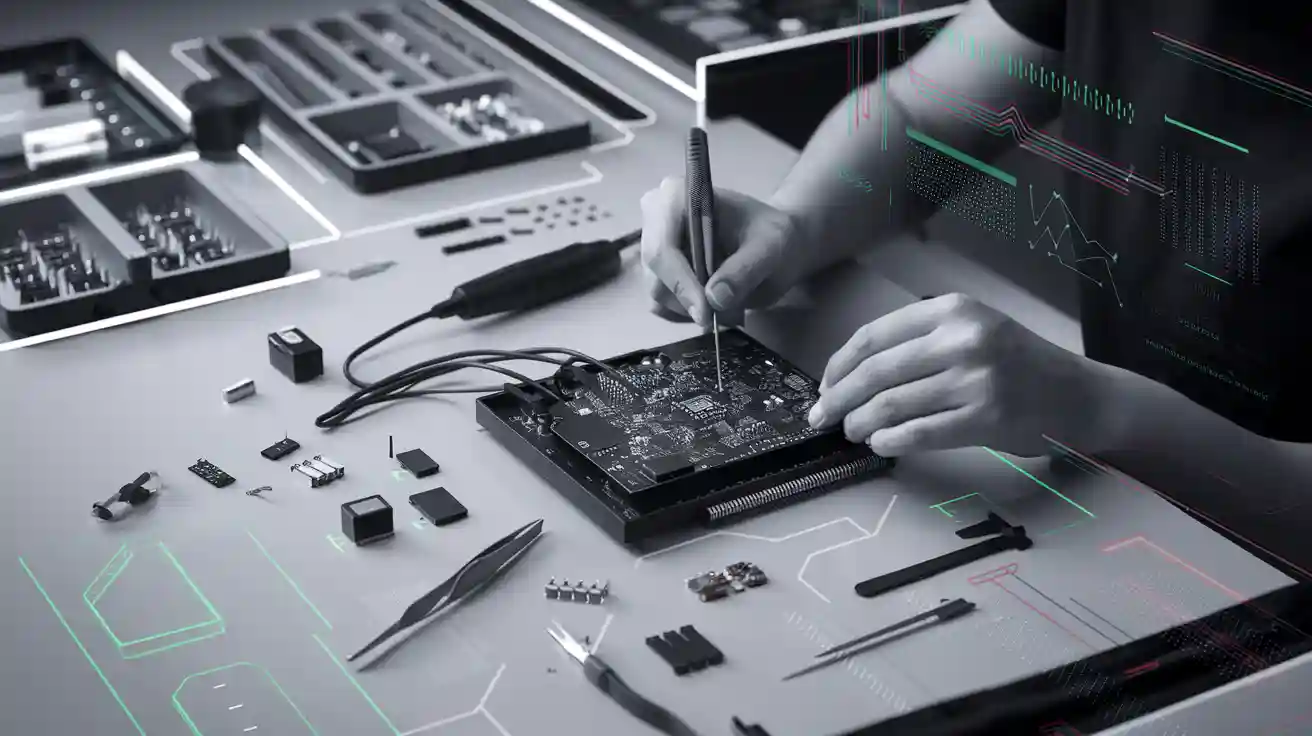
DIY PCB Assembly: A Step-by-Step Guide for Electronics Enthusiasts and Small Businesses
You can absolutely tackle DIY PCB Assembly, even if you run a small business or just love tinkering with electronics at home. Many people like you have jumped in, thanks to affordable tools and easy-to-follow guides.
You can absolutely tackle DIY PCB Assembly, even if you run a small business or just love tinkering with electronics at home. Many people like you have jumped in, thanks to affordable tools and easy-to-follow guides. Makers and small companies now use DIY methods for custom projects, saving money and learning new skills along the way. The growing maker culture and accessible PCB services make it easier than ever to get started. Ready to dive in and create something awesome?
Key Takeaways
-
Gather basic tools like a soldering iron, tweezers, and a multimeter to start your DIY PCB assembly with confidence.
-
Set up a clean, well-lit, and ventilated workspace to work safely and avoid mistakes during assembly.
-
Carefully place and solder each component, checking alignment and solder quality to ensure your board works well.
-
Clean your board after soldering to prevent corrosion and improve reliability over time.
-
Test your board visually and electrically to catch problems early and fix mistakes before powering up.
DIY PCB Assembly Basics
What Is PCB Assembly
PCB assembly means putting electronic components onto a printed circuit board (PCB). You take a bare board and add parts like resistors, chips, and connectors. This step brings your electronics project to life. Without assembly, your circuit is just a plan on paper.
PCB assembly matters a lot in today’s world. The electronics industry keeps growing because of things like smart devices, electric cars, and renewable energy. Companies and hobbyists both rely on PCB assembly to make their ideas work. In fact, the market for electronic manufacturing services (EMS) reached $500 billion in 2021 and is expected to hit $790 billion by 2030. That’s a 6% growth rate each year! PCB assembly is a core part of this market, helping turn designs into real products.
Tip: When you learn DIY PCB Assembly, you gain control over your projects and can save money on small runs.
Key Terms and Types
You’ll see some common terms when you start with PCB assembly. Here’s a quick guide:
|
Term |
What It Means |
|---|---|
|
SMT |
Surface Mount Technology: You place parts directly onto the board’s surface. |
|
THT |
Through-Hole Technology: You insert parts through holes in the board. |
|
SMD |
Surface Mount Device: A part made for surface mounting. |
|
PCBA |
Printed Circuit Board Assembly: The finished board with all parts attached. |
There are two main types of assembly you’ll use:
-
SMT (Surface Mount Technology): Great for small parts and modern gadgets. You use a soldering iron or a reflow oven.
-
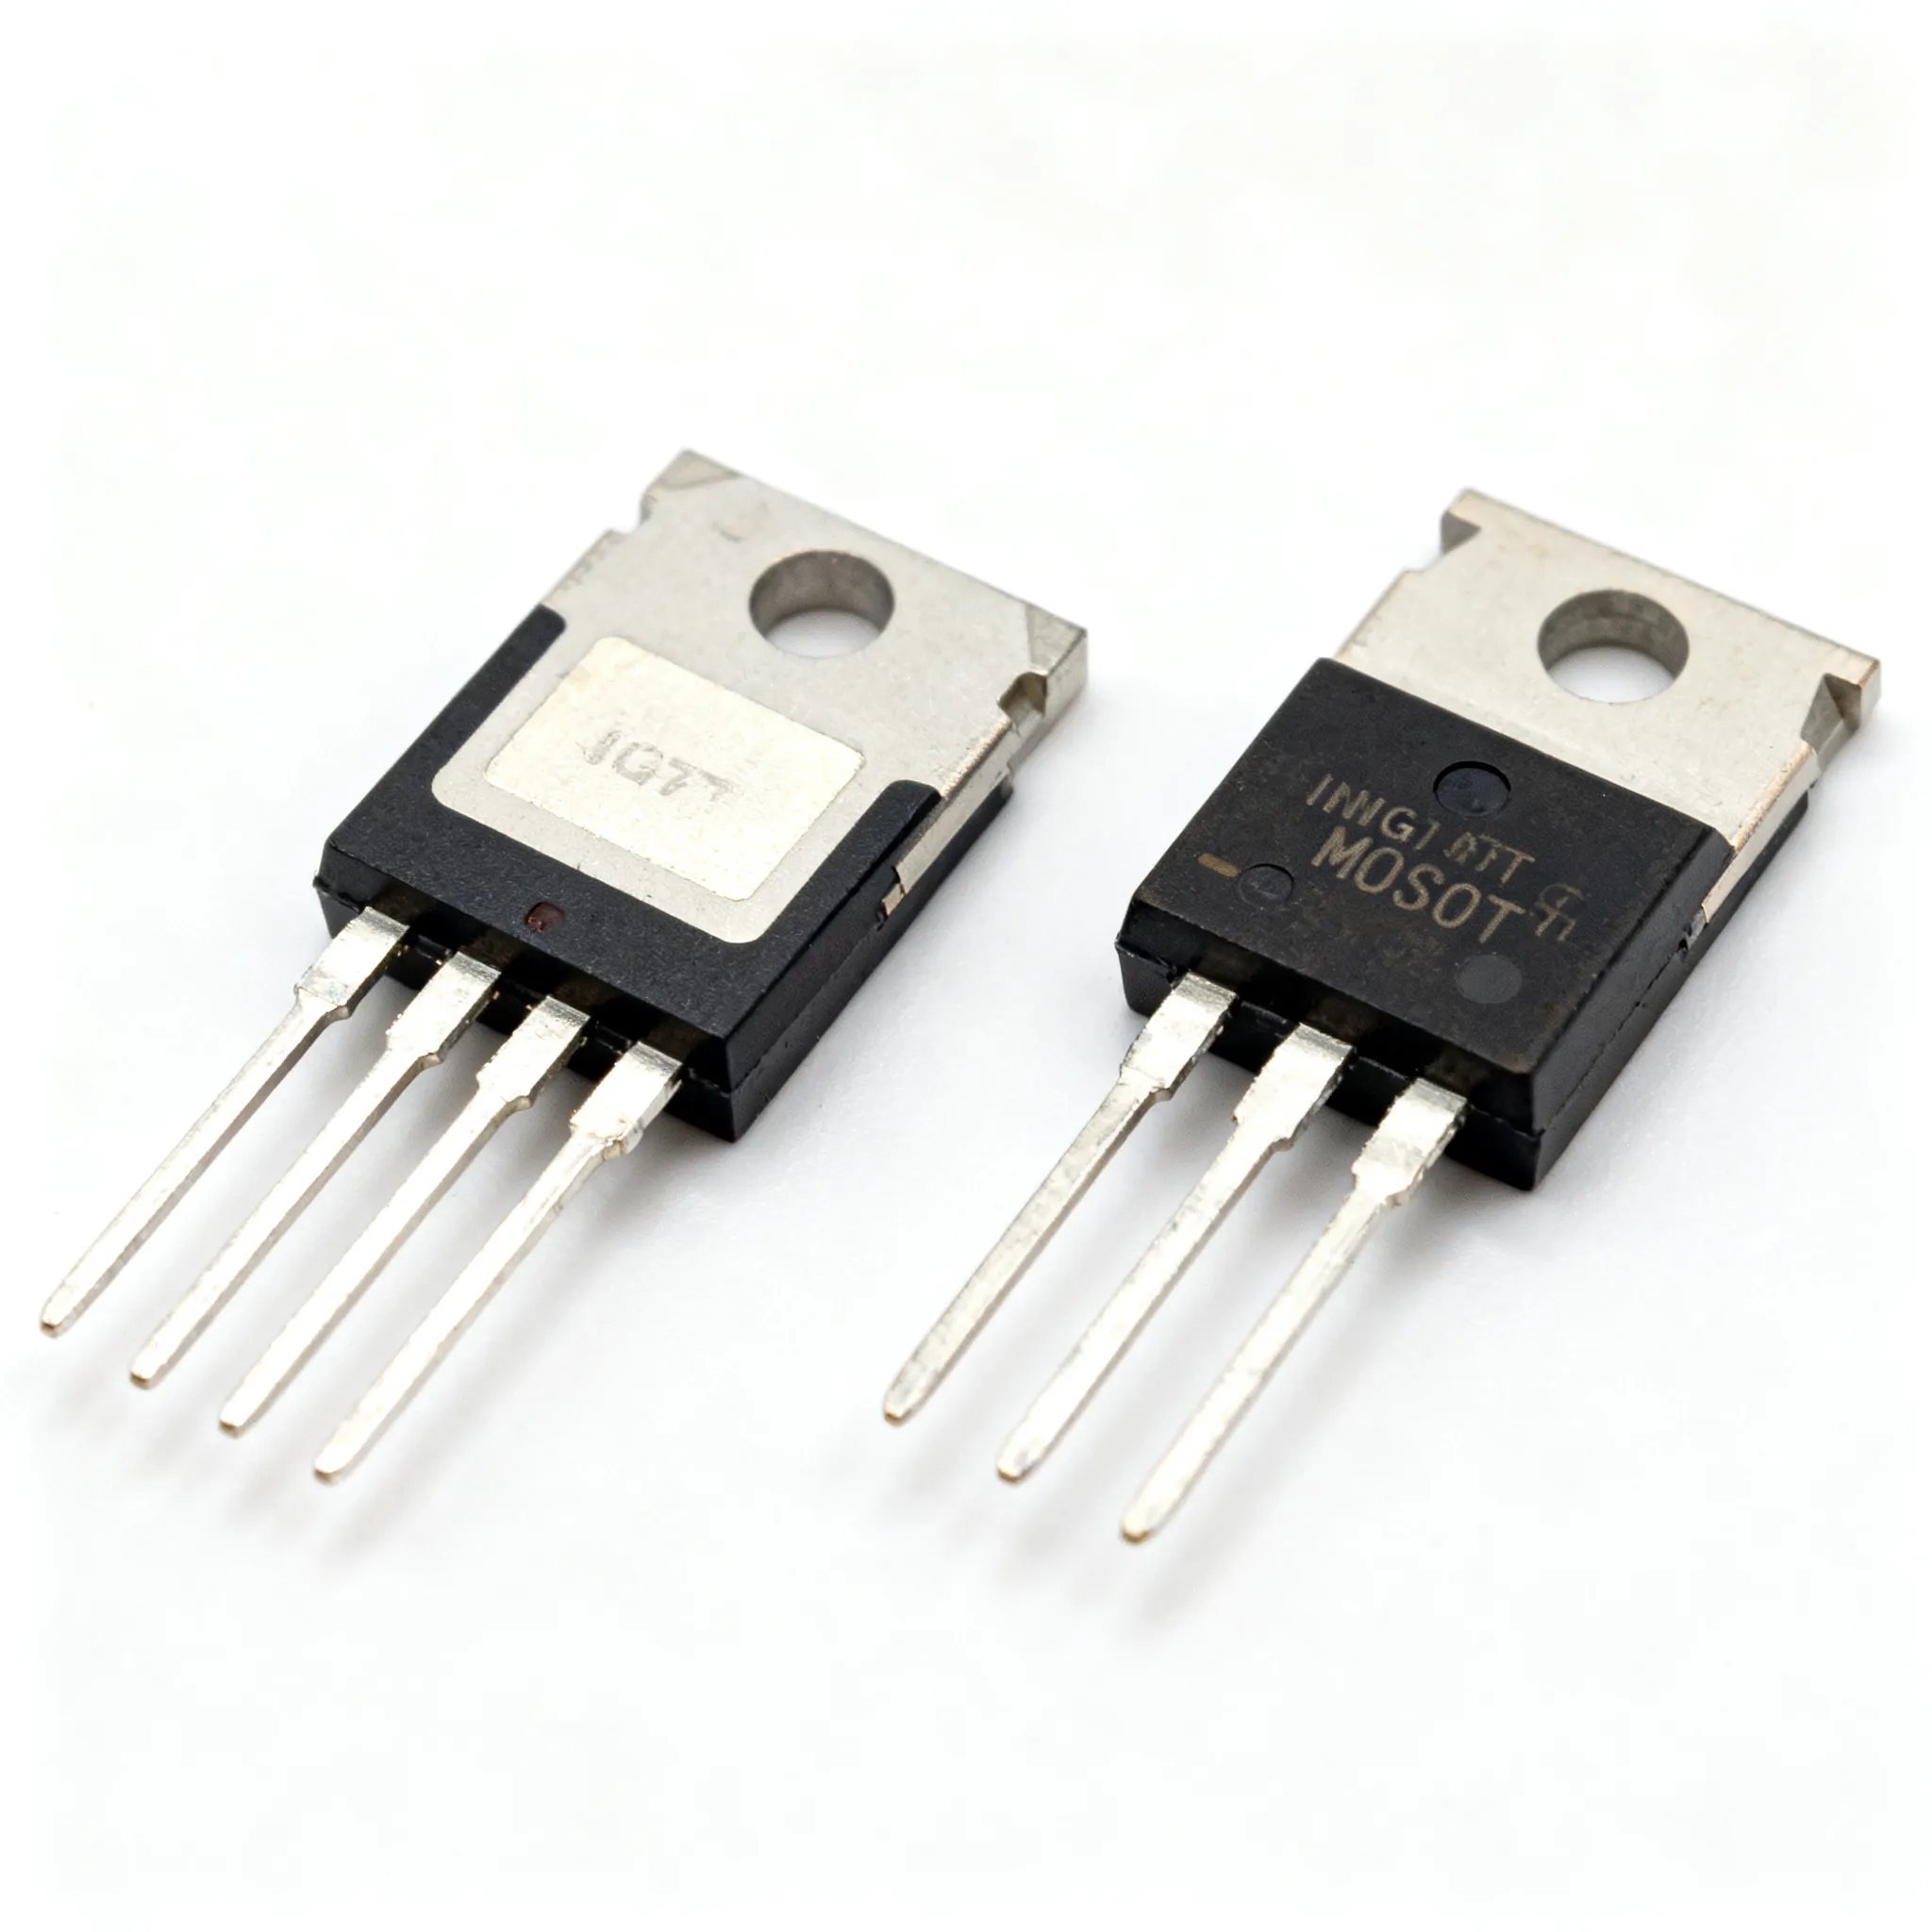
THT (Through-Hole Technology): Good for bigger parts or when you want strong connections. You solder leads through holes in the board.
DIY PCB Assembly lets you choose the best method for your project. You can mix both types on one board if you need to.
Tools and Materials
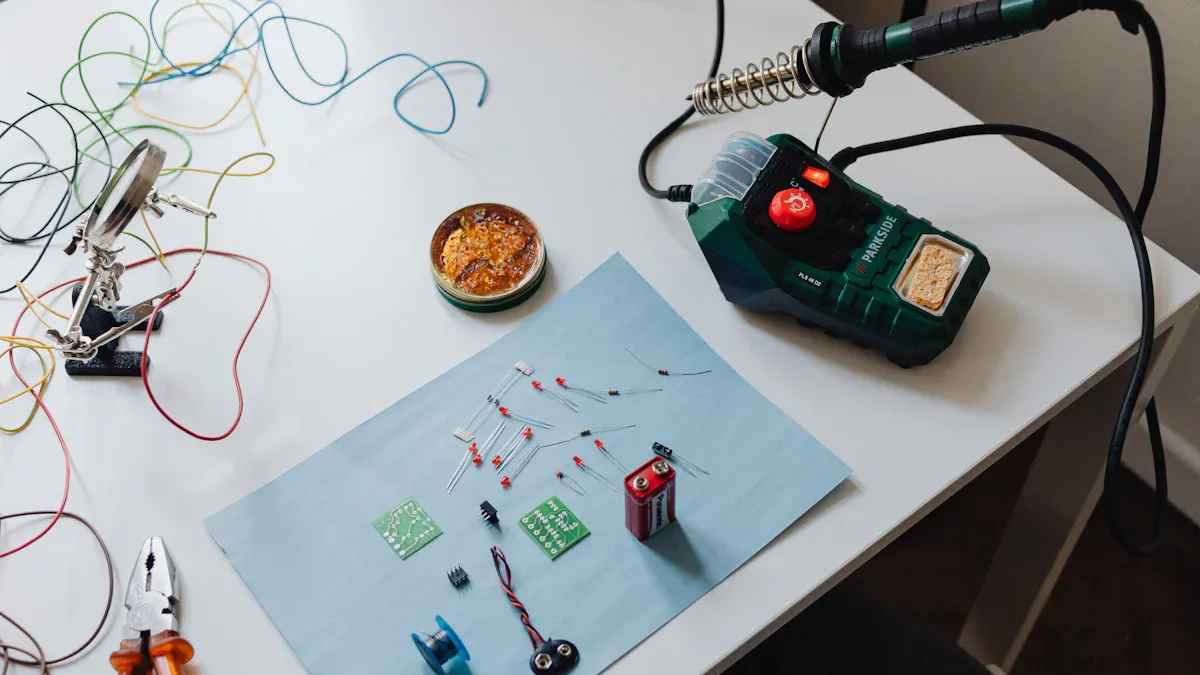
Essential Tools
You do not need a fancy lab to start building your own circuit boards. A few basic tools will help you get great results. Here is a list to get you started:
-
Soldering iron (with a fine tip)
-
Solder wire (lead-free is safer)
-
Soldering station or mat
-
Tweezers (for small parts)
-
Flux pen or paste
-
Desoldering pump or braid
-
Multimeter (for testing)
-
Small side cutters
-
Screwdrivers and pliers
-
Magnifying glass or headlamp
A good soldering iron makes a big difference. You want steady hands and the right tip for small parts. Tweezers help you place tiny components without dropping them. A multimeter lets you check your work and find problems early.
Components and Boards
You need the right parts for your project. This means choosing the correct resistors, capacitors, chips, and connectors. Always double-check your parts list before you start. When you buy components, make sure they match your design. If you use the wrong part, your board might not work.
Sourcing can be tricky. Sometimes, you cannot find the exact part you need. Delays or substitutions can lead to problems like solder bridges or open joints. These issues can cause your project to fail or cost more money. Careful planning and clear documentation help you avoid these headaches. Always order a few extra parts in case something goes wrong.
Tip: Missing or outdated components can stop your project. Plan ahead and check for long lead times before you order.
Safety Tips
Safety matters when you work with hot tools and tiny parts. Set up your workspace in a well-lit area with good airflow. Keep your tools organized and your desk clean. Wear safety glasses to protect your eyes from flying bits of solder.
Hands-on safety training works best. People who practice safe habits have fewer accidents and make fewer mistakes. Engaging safety lessons help you remember what to do. Even if it takes more time at first, you will work faster and safer in the long run.
Remember: A safe workspace keeps you healthy and helps you build better boards.
Preparation
Workspace Setup
You want your workspace to feel comfortable and safe. Start by picking a spot with good lighting. Natural light works best, but a bright desk lamp helps too. Keep your tools close by. Place your soldering iron, tweezers, and multimeter within easy reach. A clean table makes it easier to find small parts and keeps your project organized.
Set up a small fan or open a window for fresh air. Soldering can make fumes, so you need good ventilation. Use a heat-resistant mat to protect your table. Store sharp tools in a safe spot. You do not want to bump into them by accident. If you have pets or small kids, keep them away from your work area.
Tip: A tidy workspace helps you focus and reduces mistakes. You will finish your project faster and with fewer problems.
Board and Component Check
Before you start soldering, check your board and all your components. This step saves you time and trouble later. Look for scratches, bent pins, or missing pads on your PCB. Make sure each part matches your list. If you spot a damaged or wrong part, replace it now.
Here’s what you should check before assembly:
-
Inspect each component for damage or defects.
-
Make sure all parts meet your project’s specifications.
-
Check the PCB for any visible issues like cracks or missing copper traces.
-
Review your solder paste if you use it. Look for clumps or dry spots.
-
Lay out your parts in order. This makes assembly smoother.
Comprehensive checks like these help you avoid problems. When you inspect your components and board, you catch issues early. This reduces defects and boosts your project’s success rate. Many manufacturers use extra steps like In-Circuit Testing and Automated Optical Inspection. These methods find problems such as poor soldering, missing parts, or short circuits. With careful checks, companies report a 98% satisfaction score before shipping. You can get great results at home, too, by taking your time with this step.
Assembly Steps
Solder Paste Application
Solder paste is like glue for your electronic parts. It holds components in place and melts to make strong connections. If you use Surface Mount Technology (SMT), you need to apply solder paste before placing parts. You can use a stencil for this step. Lay the stencil over your PCB, then spread the paste across the holes with a small squeegee or plastic card. The paste only goes where you need it.
If you do not have a stencil, you can use a toothpick or a syringe to put small dots of paste on each pad. Try to use just enough paste. Too much can cause bridges between pins. Too little can lead to weak joints. For Through-Hole Technology (THT), you usually skip solder paste and use solder wire instead.
Tip: Keep your hands steady and work slowly. Neat solder paste makes the next steps much easier.
Component Placement
Now you get to place your parts on the board. For SMT, use tweezers to pick up each component and set it on the solder paste. Double-check the direction of chips and diodes. For THT, push each part’s leads through the holes in the board.
Here’s why careful placement matters:
-
High-speed pick-and-place machines use vision systems to avoid misalignment, which means fewer mistakes and faster builds.
-
Automated Optical Inspection (AOI) and In-Circuit Testing (ICT) catch errors early, so you do not waste time fixing bad boards.
-
Good training helps you get it right the first time, saving money and time.
-
About 15% of rework comes from placement problems like tombstoning, so careful placement helps you avoid extra work.
-
AOI can cut rework in half, which means better results and lower costs.
Accurate placement boosts your yield rate. This means more boards work the first time. Even a tiny misalignment can cause a short or a broken board. When you take your time and check each part, you get better results and fewer headaches.
Note: Neatness counts! A tidy board is easier to solder and test.
Soldering Methods
You have a few ways to solder your board. For SMT, you can use a reflow oven or a hot air gun. The heat melts the solder paste and locks the parts in place. If you do not have a reflow oven, a hot plate or even a toaster oven can work for small projects. Watch the board closely so you do not overheat it.
For THT, you use a soldering iron. Touch the tip to the pad and the lead, then feed in a little solder. Pull the iron away and let the joint cool. Repeat for each pin. If you make a mistake, use a desoldering pump or braid to remove the solder and try again.
Here’s a quick table to compare methods:
|
Method |
Best For |
Tools Needed |
Skill Level |
|---|---|---|---|
|
Reflow Oven |
SMT, many parts |
Oven, stencil, paste |
Intermediate |
|
Hot Air Gun |
SMT, small runs |
Hot air tool, paste |
Beginner |
|
Soldering Iron |
THT, repairs |
Iron, solder wire |
Beginner |
Tip: Practice on a scrap board first. You will get better with each try.
Cleaning Up
After soldering, your board may have sticky flux or bits of solder left over. Cleaning is not just about looks. It helps your board last longer and work better. Use isopropyl alcohol and a soft brush to scrub away residue. For tough spots, a toothbrush works well. Rinse with clean alcohol and let the board dry.
Proper cleaning keeps your board reliable. If you leave flux behind, it can react with moisture and cause corrosion. This weakens your board over time. Cleaning also removes dirt that can block electricity, which helps prevent shorts and keeps your device running smoothly. Good cleaning stops long-term problems like coating blisters and helps protective coatings stick better. You can clean by hand, use a special machine, or try an ultrasonic cleaner for the best results.
Remember: A clean board is a happy board! Take your time with this step for the best results in DIY PCB Assembly.
Testing
Visual Inspection
You finished soldering your board. Now, take a close look at your work. Visual inspection helps you spot problems before you power up. Use a magnifying glass or a headlamp to see tiny details. Look for these common issues:
-
Solder bridges (blobs of solder connecting two pins)
-
Cold joints (dull or cracked solder)
-
Missing or misplaced parts
-
Bent pins or leads
-
Damaged traces
Check both sides of the board. Flip it over and look for anything that seems out of place. If you find a problem, fix it now. You will save time and avoid bigger headaches later.
Tip: Good lighting makes it easier to catch small mistakes. Take your time and check every part.
Electrical Testing
After you finish your visual check, move on to electrical testing. This step tells you if your board works as planned. Grab your multimeter and test for shorts between power and ground. Make sure each connection matches your circuit diagram.
You can use different methods to test your board:
|
Test Type |
What It Checks |
|---|---|
|
Continuity Test |
Connections between points |
|
Voltage Measurement |
Power at key spots |
|
In-Circuit Testing (ICT) |
Each part works as it should |
|
Functional Testing |
The whole board does its job |
Thorough electrical testing helps you catch defects early. You lower the chance of failure and boost the quality of your project. Methods like in-circuit testing and burn-in testing show if your board can handle real-world use. These tests help you find problems that you cannot see with your eyes. When you test well, you deliver boards that work right the first time and last longer.
Note: Careful testing means fewer surprises and happier users. Reliable boards make your projects shine.
Troubleshooting
Common Mistakes
You might run into a few bumps when you build your own circuit boards. Don’t worry—everyone makes mistakes at first! Here are some of the most common problems you might see:
-
Solder Bridges: Solder blobs connect two pins that should stay separate. This can cause shorts.
-
Cold Solder Joints: The solder looks dull or cracked. These joints may not work well.
-
Misplaced Components: You put a part in the wrong spot or backwards. Chips and diodes need the right direction.
-
Missing Parts: Sometimes you forget to place a part. This can stop your board from working.
-
Lifted Pads: Too much heat can pull the copper pad off the board.
-
Excess Solder: Too much solder can make a mess and cause shorts.
Tip: Take your time and check each step. Careful work helps you avoid these mistakes.
Fixes and Rework
You can fix most mistakes with a few simple tools. Here’s how you can handle common problems:
|
Problem |
How to Fix It |
|---|---|
|
Solder Bridge |
Use a soldering iron and wick to remove extra solder. |
|
Cold Joint |
Reheat the joint and add a bit more solder. |
|
Misplaced Part |
Remove the part with tweezers and resolder it in the right spot. |
|
Lifted Pad |
Use a small wire to connect the pad to the trace. |
|
Excess Solder |
Remove extra solder with a pump or wick. |
If you need to remove a part, heat the pins and gently lift it off. Always let the board cool before you try again. Practice makes you better at fixing mistakes. Many people find that rework is a normal part of learning. You will get faster and more confident each time you fix a problem.
Remember: Every mistake is a chance to learn. Even experts need to rework boards sometimes!
When to Go Pro
Scaling Up
You might love building boards at your desk, but sometimes your project grows bigger than you expected. Maybe you want to sell your product or need to make a lot of boards fast. At this point, you should think about using a professional PCB assembly service. Here’s a quick look at how things change when you scale up:
|
Factor |
DIY PCB Assembly |
Professional PCB Assembly |
|---|---|---|
|
Low for small runs, rises with size |
Cheaper per board at high volume |
|
|
Equipment |
Basic tools, limited precision |
Advanced machines included in service |
|
Time Investment |
High, lots of manual work |
Fast and reliable with automation |
|
Quality & Precision |
Depends on your skill |
Consistent and high-quality results |
|
Volume Capability |
Good for prototypes or small batches |
Handles large orders easily |
|
Complexity Handling |
Simple boards only |
Complex, multi-layer, fine-pitch parts |
|
Environmental Impact |
More waste possible |
Better waste control and recycling |
When you need more boards, you save time and money by letting the pros handle it. They use machines that place parts quickly and check for mistakes. You get boards that work right the first time, and you can focus on your next big idea.
Complex Projects
Some projects need more than just a few parts on a simple board. Maybe your design has tiny chips, lots of layers, or special features. These jobs can be tough to do by hand. Professional assembly shops have the tools and know-how to handle these challenges.
Here’s why you might want to go pro for complex work:
-
Experts make sure every part is in the right place.
-
Quality checks catch problems before you get the boards.
-
You save money because there is less waste and fewer mistakes.
-
Machines can place very small parts that are hard to handle by hand.
-
You can order just a few boards or thousands, depending on your needs.
-
Fast turnaround means you get your boards quickly.
If your project needs high precision or has lots of parts, professional assembly gives you peace of mind. You get reliable boards that help your product shine.
You just learned the basics of DIY PCB Assembly. Here’s a quick recap to keep you on track:
-
Gather your tools and parts.
-
Set up your workspace.
-
Place and solder each component.
-
Clean and test your board.
Mistakes will happen, but each one helps you grow. Keep practicing and try new projects. You will get better with every board you build. Hands-on experience makes you a true electronics maker!
FAQ
How do I know if my solder joints are good?
Good solder joints look shiny and smooth. They cover the pad and the lead without extra blobs. If you see cracks or dull spots, you may need to reheat and add a bit more solder.
Can I assemble a PCB without a reflow oven?
Yes! You can use a soldering iron for through-hole parts and small surface-mount jobs. For small SMT boards, a hot air gun or even a toaster oven works well.
What should I do if I lose a tiny component?
Stay calm. Use a flashlight to search your workspace. Sometimes, parts stick to your clothes or tools. Keep extra components on hand so you can finish your project without delay.
Is it safe to solder at home?
Yes, if you follow safety tips. Work in a well-ventilated area. Wear safety glasses. Keep your workspace tidy. Always unplug your soldering iron when you finish.