How Control PCB Assembly Differs from Standard PCBs: Design Considerations and Manufacturing Challenges
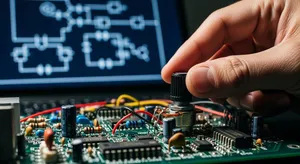
You face special problems when you work with control pcb assembly. These problems are different from standard pcb projects. Control pcb assembly needs more accurate placement.
You face special problems when you work with control pcb assembly. These problems are different from standard pcb projects. Control pcb assembly needs more accurate placement. The parts must be placed within ±50 microns. There is also stricter quality control. You have to think about things like First Pass Yield and Rework Rate. These numbers affect how reliable and costly the project is. Control system printed circuit boards need very careful part placement. They also need more careful testing to make sure they work right.
|
Metric |
Description |
Typical Value |
|---|---|---|
|
Placement Accuracy |
How exact the part placement is |
±50 microns or better |
|
Pick-and-Place Speed |
Number of parts placed each hour |
100,000+ |
|
First Pass Yield (FPY) |
PCBs that pass all checks the first time |
High percentage preferred |
Key Takeaways
-
Control PCB assembly needs very careful part placement and strict checks. This helps make sure the board works well and costs less.
-
Good design uses even copper layers and careful part placement. It also needs good signal and heat control. This keeps boards flat, strong, and working right.
-
Making control PCBs is hard because layers must line up exactly. Vias must be drilled just right. Soldering must be careful to stop problems and failures.
-
You can pick manual or automated assembly. The choice depends on how many boards you need and how hard they are to make. Automated assembly is fast and accurate for big jobs.
-
Planning early, working as a team, and using design-for-manufacturing ideas help a lot. These steps lower mistakes, make work faster, and make better PCBs.
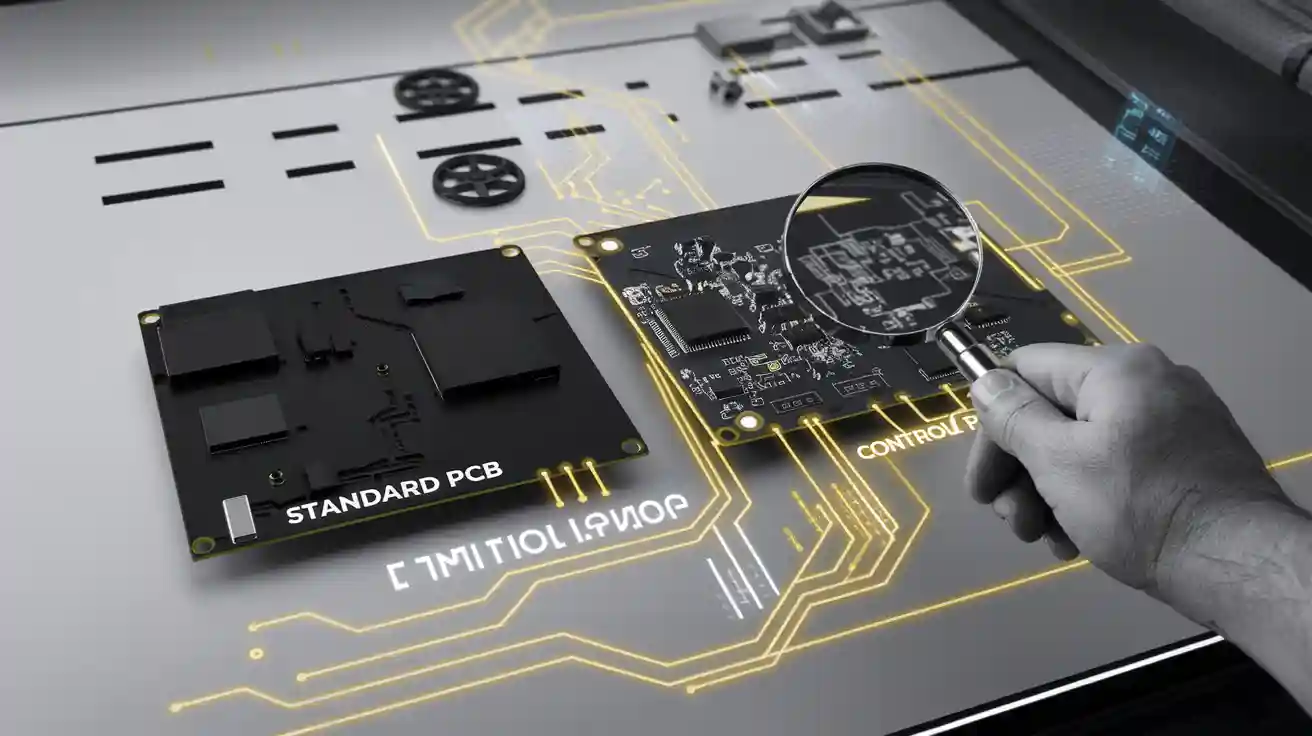
Control PCB Assembly vs. Standard PCB
Function and Application
Control pcb assembly does harder jobs than standard printed circuit boards. These assemblies help run important systems in cars, factories, and smart devices. They must process signals fast and use power well. Many control pcb assemblies have high-density interconnects and wireless modules for more features. For example, the automotive industry uses these assemblies in electric cars and self-driving systems.
|
Performance Aspect |
Statistic / Insight |
|---|---|
|
Special Processes Market Share |
In 2023, special processes had a big share because they handle complex assemblies, high-density interconnects, and multi-layered boards. |
|
Application Growth |
The automotive area is growing because of electric cars and self-driving technology. |
|
Design Segment Revenue |
In 2023, design made the most money because of harder designs and better design software. |
|
Manufacturing Segment Projection |
Manufacturing is expected to grow a lot because more people want automation and AI. |
These things make control pcb assembly very important for new, high-performance uses.
Component Selection
When picking parts for control pcb assembly, you must think about reliability and rules. Pick parts that are easy to get, not too expensive, and work well. Use standard parts so you do not run out. Make sure every part meets RoHS rules and comes from trusted suppliers. You also need to follow IPC rules like IPC-A-610 and J-STD-001 to keep quality high.
-
Use packages that lower part count and board size.
-
Pick small lead SMT parts for better signals.
-
Follow DFA rules for fewer pcba mistakes.
-
Choose parts that are easy to find to avoid supply problems.
Complexity
Control pcb assembly is more complicated than standard pcba. You can use complexity indexes and parametric panels to measure this. First pass yield (FPY) is linked to how hard your printed circuit board is. If you make it less complex, FPY goes up and costs go down. Math models, like Weibel probability failure equations, help you see how complexity changes yield. This helps you compare pcb types and make your design better for manufacturing.
Design Considerations for Control PCB Assembly
Copper Balance and Warpage
You need to watch copper balance when making control pcb assembly. If copper is not even, the board gets stressed. This stress can bend the pcb and make it not work well. Try to use the same amount of copper on both sides. This helps the board stay flat and strong, even with lots of current. IPC rules say how much warpage is allowed. For important boards, warpage must be less than 0.1%. You can do this by stacking layers evenly and spreading copper out. When you follow these steps, your pcb is easier to build and works better.
Tip: Use design tools that show where copper is on your board. These tools help you find problems before you make the pcb.
Component Placement and Clearance
Putting parts in the right place is very important. Keep sensitive parts away from the edge and heavy parts. This stops stress and keeps solder joints from breaking. Leave 1-2mm of space around hard-to-work-with parts like BGAs and QFNs. This space makes fixing and checking parts easier. Put passive parts the same way to help machines place them right. Use fiducial markers so machines can line up parts well.
-
Do not put parts on the edge of the panel.
-
Use normal part shapes to make building easier and cheaper.
Design Rule Checks help you find mistakes in spacing and placement. These checks catch problems early and save money later.
Signal Integrity and Power
Signal integrity and power are very important in control pcb assembly. Keep signal lines short and straight to stop noise. Put decoupling capacitors close to IC power pins to clean up noise. Use special power planes to keep voltage steady. Good grounding gives signals a safe path back and lowers noise.
Use simulation tools to guess how signals will act. Use oscilloscopes and logic analyzers to check signals during tests. Eye diagrams show if signals have problems like jitter or noise. Check power supply ripple and noise to make sure power is steady. Doing these things helps your board work as it should.
Thermal Management
Thermal management keeps your pcb from getting too hot. Pick materials that move heat well. Make sure your materials expand like copper does. This stops stress when the board heats up or cools down. The glass transition temperature should be higher than how hot your board gets.
Put thermal vias under hot parts to move heat away. Heat sinks and metal-core pcbs help spread heat. Sometimes you need heat pipes or fans for more cooling. Thick copper traces and good layer stacking help heat move out. Use thermal simulations to find hot spots and fix them.
Note: Good thermal management helps your board last longer and not break early.
Industry Trends and Real-World Practices
The pcb and pcba market is growing because of healthcare, cars, and electronics. New CAD tools help fix problems like signal noise and heat. Companies with lots of experience make better boards and can make more at once. Real stories show that fast prototyping, new ways to build, and expert checks help a lot. Work with your manufacturer during design to reach your goals.
-
Balanced copper and even layers stop the board from bending.
-
Good part placement and space lower mistakes during assembly.
-
Careful layout and testing keep signals and power working right.
-
Good thermal management keeps your board safe and reliable.
If you follow these tips, your control pcb assembly will work better. You will also have fewer problems and delays when making your board.
Manufacturing Challenges in PCBA
Layer Alignment and Via Drilling
Making multilayer boards in pcba is very hard. Every layer must line up just right. If layers do not match, the board can fail. You need special machines to keep layers in place. High-pressure lamination helps hold the layers together. When you make the board, you must watch for heat changes. Different materials get bigger at different rates. This can bend the board and make it less reliable.
Drilling vias makes things even harder. You use fast CNC or laser drills to make tiny holes. Some holes are only 50 microns wide. These holes connect the layers and must be very exact. If they are not, signals can have problems. Laser drilling lets you make buried and blind vias. These are needed for high-density boards but cost more and are harder to make. You also need to plate the inside of the vias. This makes sure electricity flows well. If you skip a step, you can get defects that are hard to find.
Tip: Use good registration and lamination methods to keep your printed circuit board assembly strong.
Soldering and Flux Issues
Soldering is a big part of making pcba. You must control heat and time to stop cold joints. If solder is not hot enough, the connection is weak. Weak joints can break when used. Leftover flux on the board can pull in water. This can cause rust or leaks. Bad connections or short circuits can happen.
You also need to watch for rare problems like black pad. This can show up in ENIG boards. It is hard to see and costs a lot to fix. Solder mask outgassing is another problem. When the solder mask lets out gas, it can make holes or dirt. This is bad for sensitive boards or those used in a vacuum. You must check quality often to catch these problems early.
-
Clean boards after soldering to get rid of flux.
-
Use machines to check for cold joints and holes.
-
Pick solder and flux that fit your needs.
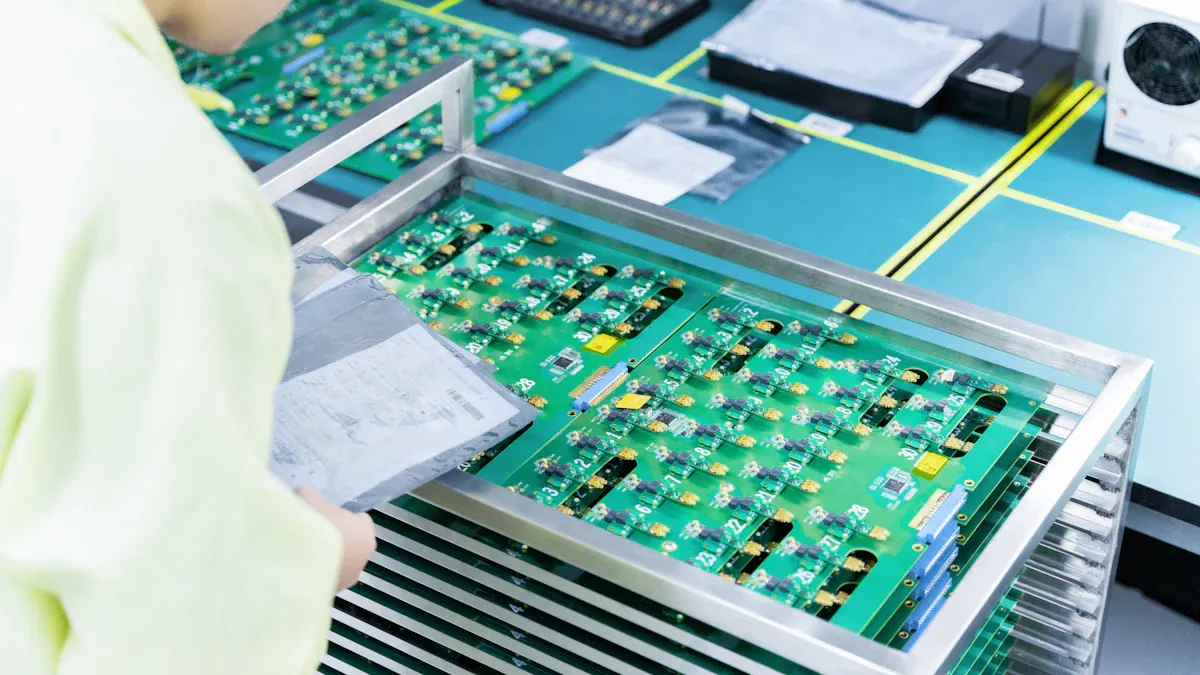
Manual vs. Automated Assembly
You must pick manual or automated assembly for each job. Manual assembly is flexible. It is good for small batches or test boards. Workers can handle tricky or special designs. But manual work is slow and mistakes happen more. You need strong checks and careful looking to keep quality high.
Automated assembly is fast and steady. Machines can put on many parts each hour. They make fewer mistakes and cost less for big jobs. But you must spend a lot on machines and upkeep. Automated work is best for simple boards made in large numbers.
|
Method |
Best For |
Pros |
Cons |
|---|---|---|---|
|
Manual |
Low volume, prototypes |
Flexible, low setup cost |
Slower, more errors |
|
Automated |
High volume, simple PCBs |
Fast, consistent, precise |
High initial investment |
Note: For small parts and packed boards, automated assembly gives you the accuracy you need.
Low-Volume Production
Making small amounts of boards has its own problems. It is hard to find parts and keep costs low. Suppliers may not have small amounts in stock. This can slow down your work. Hard designs are tough to build in small batches. You must watch your spending.
You should use DFM and DFA to lower mistakes. Plan early to pick easy-to-find parts. Add test points to help with checking and testing. Use machines and tests to find problems before they get worse.
-
Use surface mount technology for faster and denser boards.
-
Work closely with suppliers to get parts.
-
Check quality at every step.
Quality checks and good inspection are very important for small runs. Write down every step and check your process to keep quality the same. Flexible prices and ways to build help you save money and change as needed.
Remember: Good planning and strong checks help you make great pcba even when you make only a few.
Best Practices in PCB Design and Assembly
DFA and DFM Principles
You can make pcb design and assembly better by using Design for Assembly and Design for Manufacturing ideas early. Set clear rules with your manufacturer before you start. Use DRC tools often to find problems quickly. Add DFA and DFM steps to your work to lower mistakes and rework.
-
Pick parts that only fit one way to stop errors.
-
Use fewer different parts to make building easier.
-
Avoid very tight fits so checks are not too hard.
-
Make parts easy to hold and put in place.
-
Run DRC checks for space, width, and gaps.
-
Work with your manufacturer to match design and building.
Tip: Checking DFA and DFM early helps you stop mistakes and makes your board better.
Collaboration in PCBA
Working together helps pcb design and assembly succeed. Teams from different jobs can spot material and process problems early. Use teamwork to think about design, building, and testing at the same time. Bring in inspection and testing teams early so checks are easy to do.
|
Case Study Title |
Description |
|---|---|
|
Teams worked together to make safe, advanced boards. |
|
|
Scalable PCBAs for Renewable Energy |
Teamwork helped make big energy projects work. |
Robots and digital tools now help people work better and faster. These ways help you get strong pcbas and good results.
Prototyping and Testing
Quick prototyping helps you go from design to working pcb fast. Use machines and AI to find mistakes early. Add design-for-testing steps so you can reach test spots and tools easily.
-
Do in-circuit tests to check for shorts and open spots.
-
Use eyes and X-rays to find hidden problems.
-
Test the circuit to see if it works right.
-
Try stress tests like heat and shaking for strength.
-
Use computer tools to guess how the pcb will act before making it.
Final tests, like in-circuit and circuit tests, make sure your pcb is right. Real-time checks during final tests help you fix problems fast.
Supplier Selection
Pick suppliers with strong quality checks and good skills. Look for written plans, smart machines, and work on boards like yours.
|
Criteria |
Description |
|---|---|
|
Quality Controls |
Plans, checks during work, ways to fix problems |
|
Technical Capability |
Special machines, tests for strength, finding failures |
|
Experience |
Past work, good results, better ways to build |
|
Compliance |
IPC rules, UL safety marks |
|
Cycle Time |
How fast, stock control, where they are |
|
Responsiveness |
Talks, updates, can change plans |
|
Performance Stats |
Good boards, few mistakes, few returns |
|
Improvement Methods |
Lean Six Sigma, PDCA cycles |
You should balance quality, price, and delivery when picking suppliers. Use data to help you choose and make sure your pcb design and assembly is strong.
You deal with special problems when you do control PCB assembly. These jobs need more careful work and better parts. You also have to check quality more often. The table below shows how things can get better:
|
Metric |
Description |
Initial Value |
Improved Value |
Impact Summary |
|---|---|---|---|---|
|
Producibility Score |
Assembly trade-off score showing how easy and cheap it is to make |
~75 |
Big jump in how easy it is to build and save money. |
If you use good steps, you make fewer mistakes and finish faster. Your pcb projects can grow and change when needed. Working well with your team makes building the pcb easier and more steady.
1. You make fewer errors and keep people safe. 2. You use less stuff by planning well. 3. You stop running out of parts by thinking ahead. 4. You keep checking to make sure things work right. 5. You get your pcb ready for new needs. 6. You help your team work together for better results.
Try these ideas to make your pcb assemblies strong, fast, and ready for the future.
FAQ
What makes control PCB assembly different from standard PCB assembly?
Control PCB assembly needs more careful work. You must place parts very exactly. There are more checks to make sure everything is right. These steps help the board work better and last longer.
How do you prevent PCB warpage during assembly?
You put the same amount of copper on both sides. You stack the layers evenly. You follow IPC rules to keep the board flat. These steps help the board stay strong.
Why is component placement so important in control PCB assembly?
Good part placement makes the board work better. It helps you fix things if something breaks. It keeps solder joints safe from stress. It also helps machines put parts on the board the right way.
What challenges do you face with low-volume PCB production?
It can be hard to find all the parts you need. Costs can go up when you make only a few boards. You should plan early and pick suppliers who can help. Checking quality often helps stop mistakes.
How can you improve signal integrity in control PCBs?
Keep traces short and straight to lower noise. Put decoupling capacitors close to power pins. Use tools to check for signal problems before you finish the board.